3D Printed Case for uBitx v5
Before starting the assembly of the uBitx v5, I need to decide on a case, this would dictate how the controls were installed, and what controls were installed, the Kit supplied controls, or alternate controls
So, I went to thingiverse.com and did a search for ubitx and found a lot of designs of various features
I choose one published by DU2RD, a somewhat tight fitting case, with a front and rear panel that allowed for some modification to the Kit supplied controls
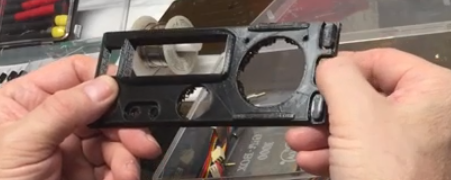
The front panel features removable inserts for the VFO and Volume Controls, a space for a non-kit supplied On-off Switch, a space for a non-kit supplied 4 Pin Microphone connector, and holes for 2 3.5mm kit supplied jacks
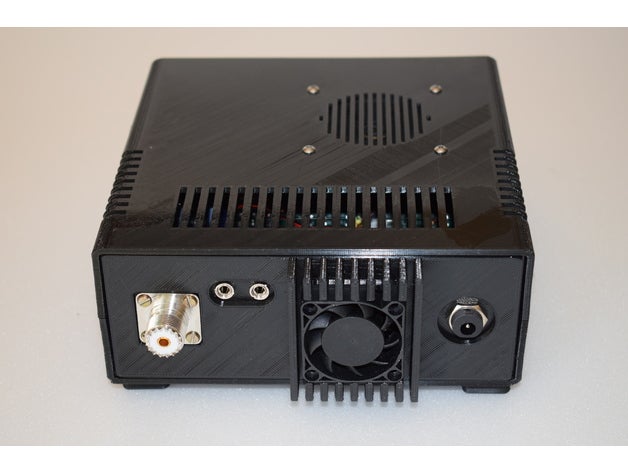
The rear panel features holes for SO-239 Jack, Power Jack, Power Fuse, and a Cooling Fan
The Kit supplies 3 3.5mm jacks, for MIC, Speaker and Key connections, One of these must be eliminated or mounted somewhere else in the case
I’m sure the designer meant for the 4 pin MIC connector to replace the 3.5mm MIC connector, but I wanted both so I could experiment with different MICs, so I moved the speaker connection to the side of the case
I wanted the 4 pin MIC connector for MICs to be used in the shack and might be bigger, and I wanted the 3.5mm MIC connector for MICs to be used portable, and would be preferable small
The kit supplied Volume Control as too deep for the front panel mount, and the designed intended for the on/off switch to be used instead, and a shorter volume only control to be used
Luckily, I had a suitable volume control that provided the correct range of adjustment and was shorter, and an on/off switch the right size for the supplied hole
The rear panel offers a lot of options, most of which are for non-kit supplied connectors
The kit supplied power connector mount easily in one of the 2 holes provide for power, the designer provided a second hole the same size, this second hole can be used for 2 options, a second power supply for the PA, or for a fuse mount
I intend to use this extra power connector hole for a fuse, which is recommended, at a later date I can experiment with adding a second power supply for the PA
The rear panel provides a mount for a 40mm fan intended to cool the IRF510s used for the PA
The rear panel provides a mount for an SO-239 panel mount connector, this is located convenient location to keep the board output wires close to the SO-239 connector, so they will be short, as recommended in the uBitx guide
I would like the option of installing both BNC and SO-239 connectors, but in reality, the case is small and it needs to stay that way, so not all options can be added
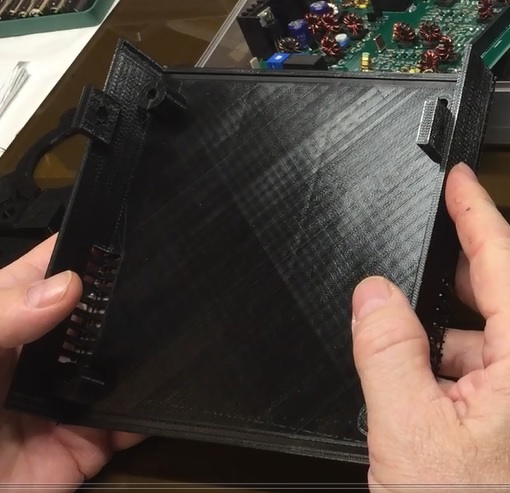
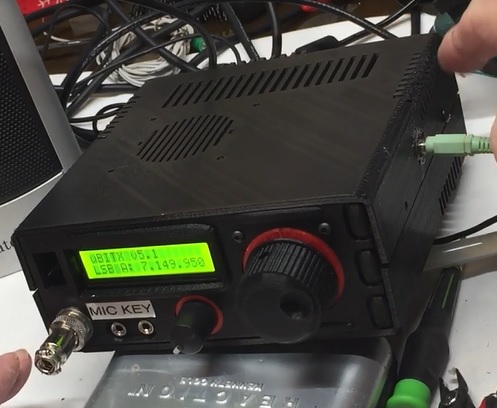
It’s a nice case, it let me assembly by uBitx v5 and get it working, so it was work the effort to print
Some time in the future, I will use this case as a base design and customize it to be exactly what I want
When I printed the case, it took a total of about 60 hours, and took about $5 worth of filament, I thought that was very reasonable
Video of the Case Overview
3D Printed Case for uBitx v5
![]()