Build Log for Assembling the Blue Square Metal Detector Kit
Build Log for Assembling the Blue Square Metal Detector Kit
I order several metal detector kits from aliexpress to see if they worked differently and to study the circuit’s functionality – This kit costs about $2 each, I purchased two, one to build as intended, one to modify for experimentation
The kits seldom have a name brand, so this one I am calling Blue Square Metal Detector, because that describes it
The kits do not come with any directions, or a circuit diagram/schematic, and has the components labeled to match the label on the board
If the kit is put together and works, not having directions or a circuit schematic is not a problem, but if it does not work, its more difficult to troubleshoot without a circuit schematic, or voltage measurements to compare against – the solution to the problem is putting the kit together correctly the first time!
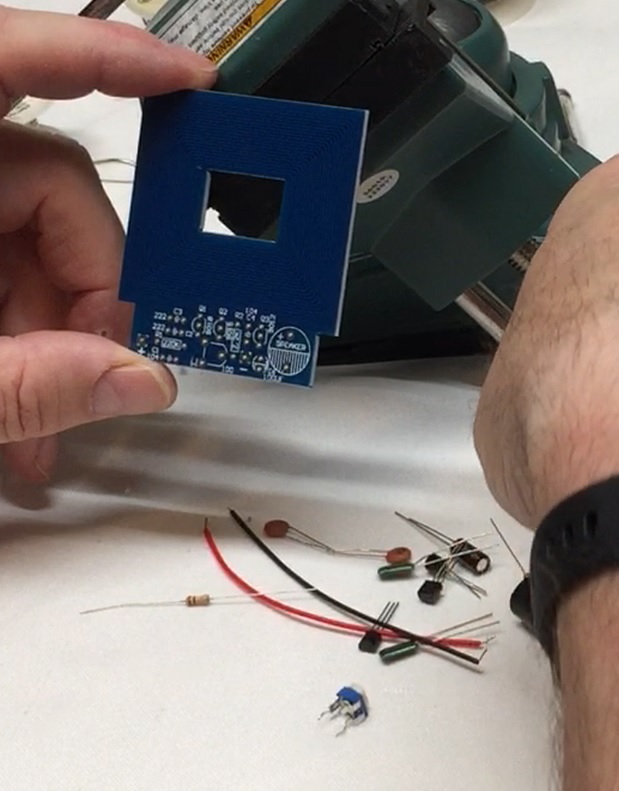
I started by laying out the parts, there really are not a large number of parts
1 Circuit Board
2 Resistors
5 Capacitors
1 Variable Resistor
1 Piezo Electric Buzzer
2 Wires to attach power
The Parts
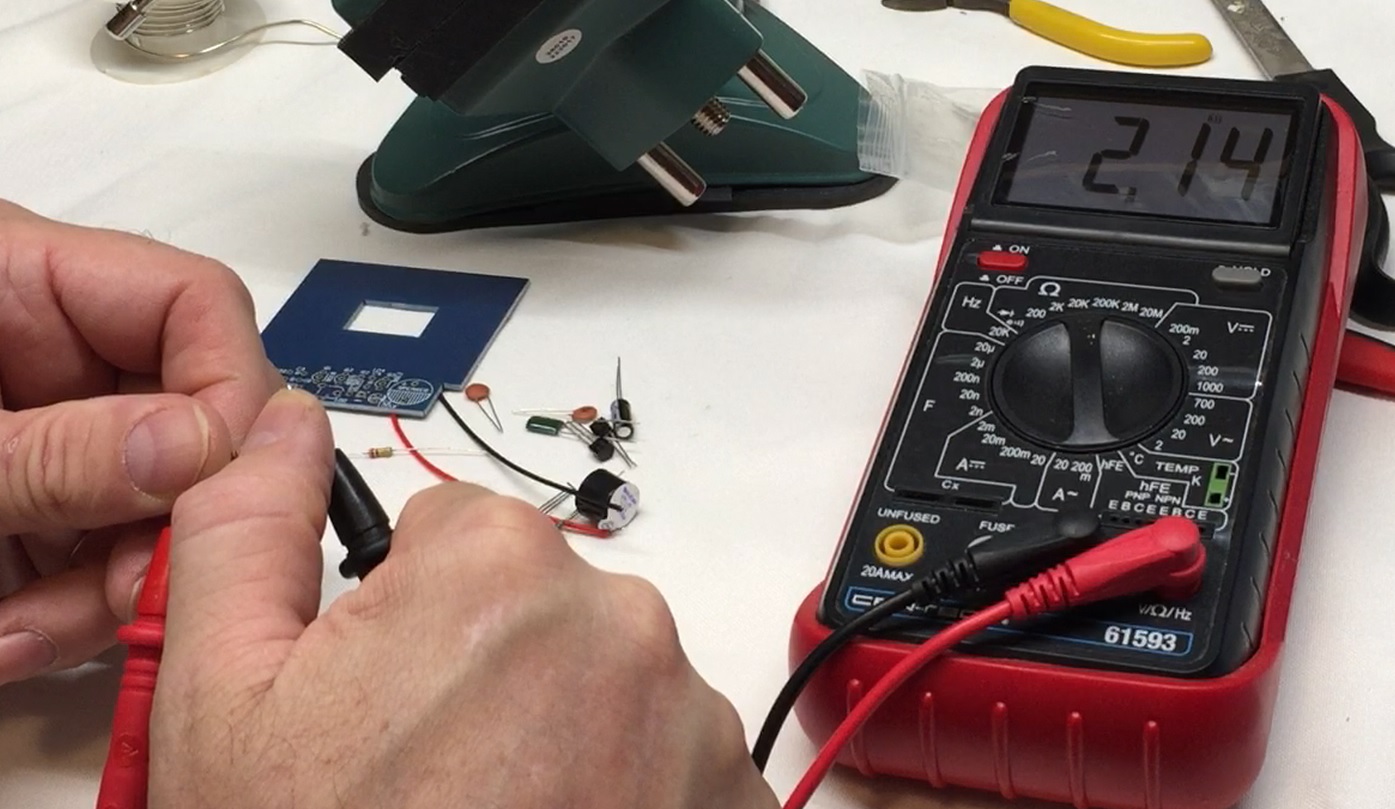
I started by measuring the resistors with a multimeter, I think this is quicker than decoding the color bands, This is a personal choice
Checking Resistors
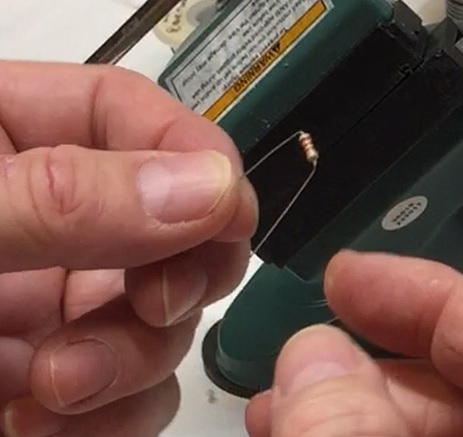
Match the value to the label on the board, pre-bend the leads at 90 degrees to the resistor to prepare them for insertion into the board, then insert the resistor, bending the leads on the back of the board to hold the resistor in place until it is soldered, you should insert several components and solder them all at once
Resistor Inserted and leads Bent
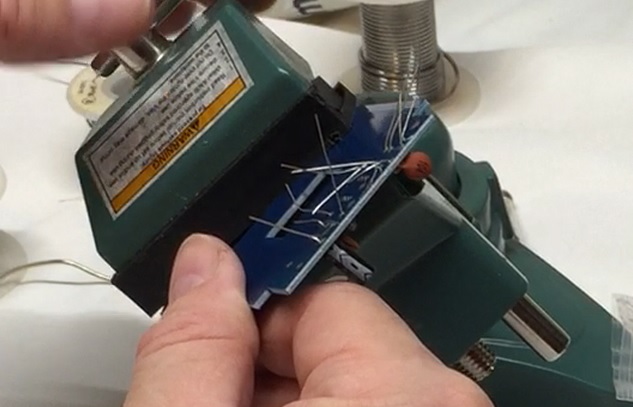
I insert several components into the board, then solder them all at once
Soldering the Components
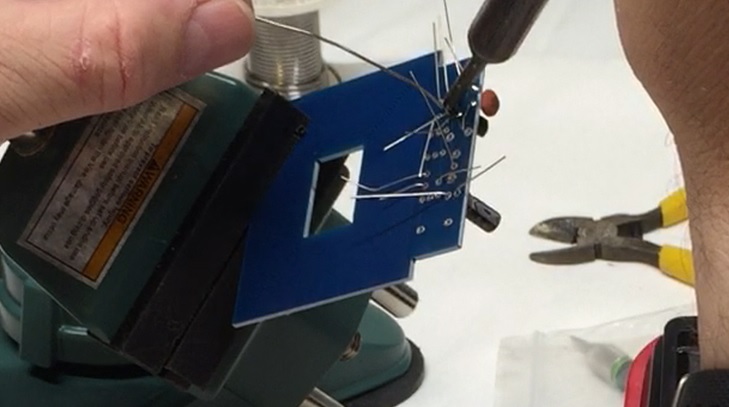
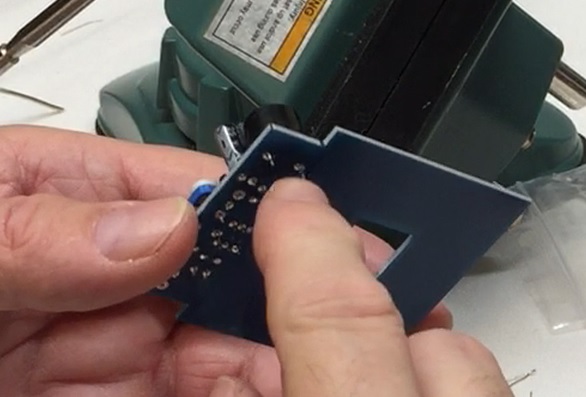
So I continued to insert parts and solder them until I was done
All the components soldered and the leads clipped
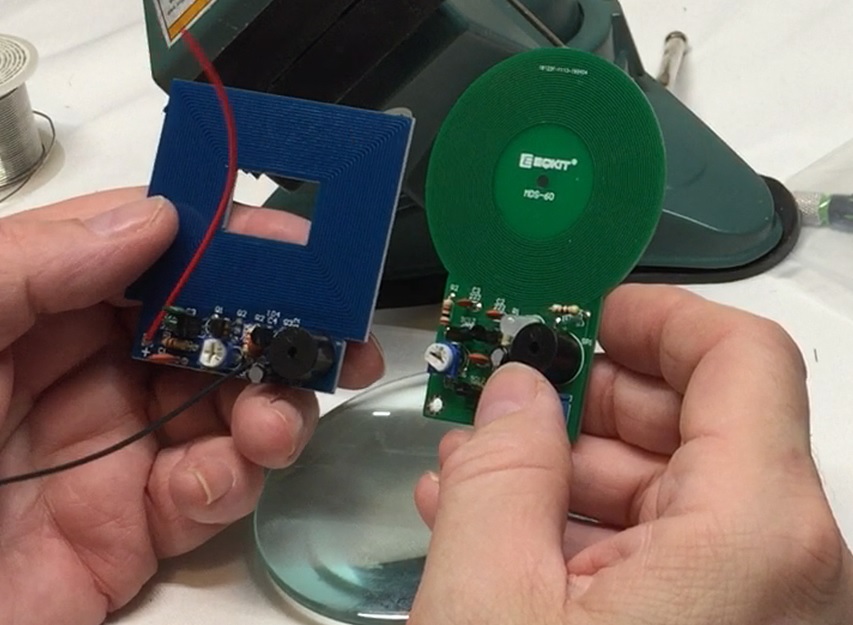
With no directions, I had no idea what voltage to use for powering the Metal Detector, I compared it to the Green Round Metal Detector, and found a label on the Green one calling for 3-5v for power, so I decided on 5v for the Blue Square Metal Detector, which turned out to work great
Comparing the Blue Square Metal Detector to the Green Round Metal Detector Jack
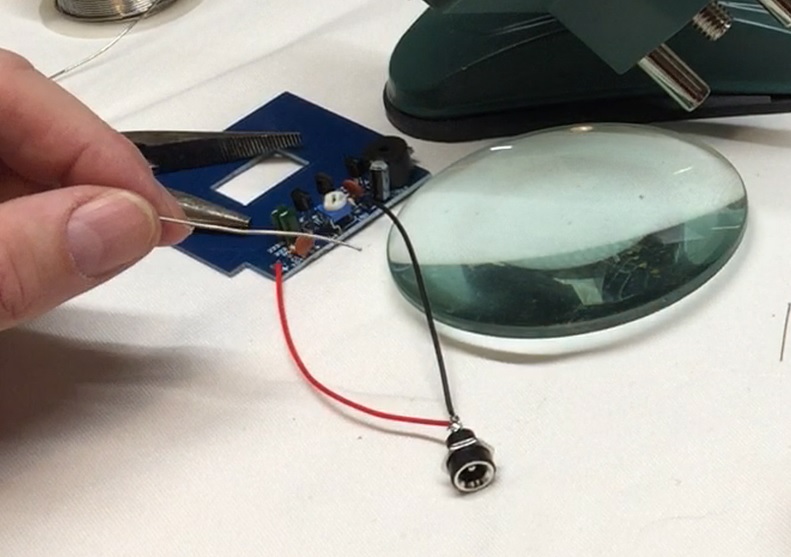
I need to a way to supply power to the Metal Detector, I used a 2.1mm Power Connector so I could use a regular wall wart, I used a 5v wall wart
Attaching a 2.1 Power Connector Jack
Next step – Apply Power!
When the Metal Detector Powered on, the sensitivity was set to maximum, so the Metal Detector sounded its detection tone, I had to use the variable resistor to turn down the sensitivity until the detection tone went off, and now the Metal Detector was ready to use!
I used a pair of pliers to test the Metal Detector, and it worked fine
Watch the Blue Square Metal Detector Build Video
Build Log for Assembling the Blue Square Metal Detector Kit
![]()