Piper 1v2 3D Printer Build Log – EndStop Installation and Wiring Phase
There are endless assembly sequences for the Piper 1v2 3D Printer
This is the assembly sequence I used to assemble my Piper 1v2 3D Printer
Installing End Stops Cables
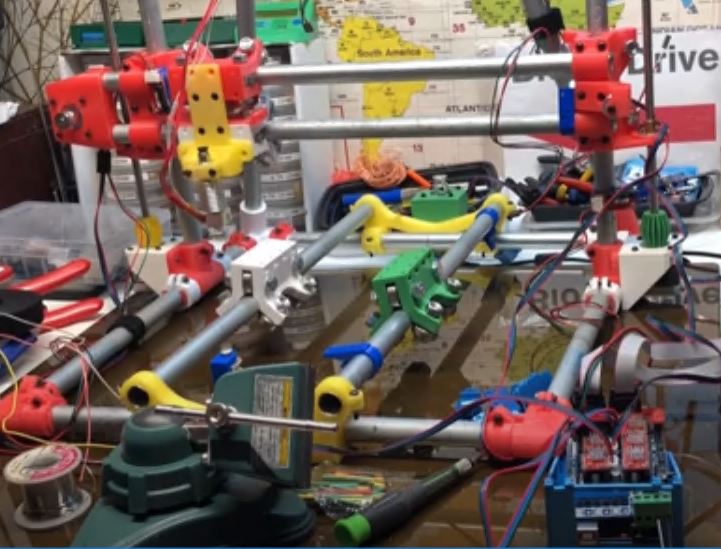
I am mounting my Ramps 1.4 board and Display on the right side of the printer, at the front
This will allow me to be in front of the printer and work on the printer which having easy access to the controls
I chose the right side because I am right handed and this allows easy access
The wiring of the end stops is very basic, the switch closes the circuit to trigger the axis is at its limit
There are end stop mounts for the piper, this allows the end stop to be mounted to the conduit
This should work for all end stops, install the mounts on the conduit, then mount the end stop
Start running the End Stop Cables one at a time, use cable management to attach the cables to the conduit frame
I used enough cable management to keep the cable close to conduit all the way to the end stop location
Use the headers labeled for X, Y, and Z to attach the correct endstop cable to the correct header
Video of Endstop Wiring
Video to be Added – Last Updated 10/07/2022
Piper 1v2 3D Printer Build Log – EndStop Installation and Wiring Phase
![]()