Piper 1v2 3D Printer Ramps 1.6 Mega 2560 20×4 Display Setup
Piper 1v2 3D Printer Ramps 1.6 Mega 2560 20×4 Display Setup
The Piper 1v2 build is at the stage where the electronics need assembled
The Assembly steps would be the same for just about any 3d printer build
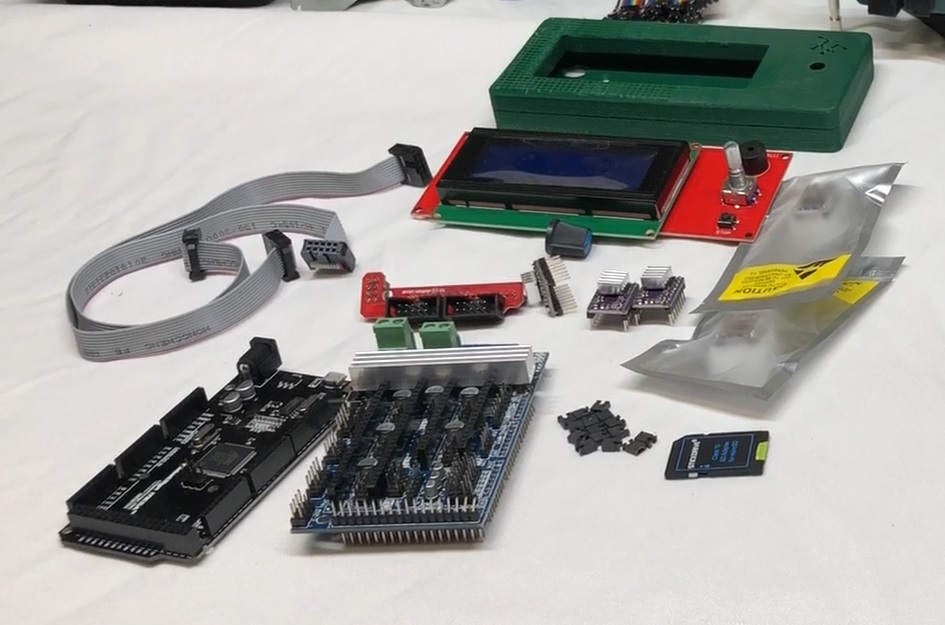
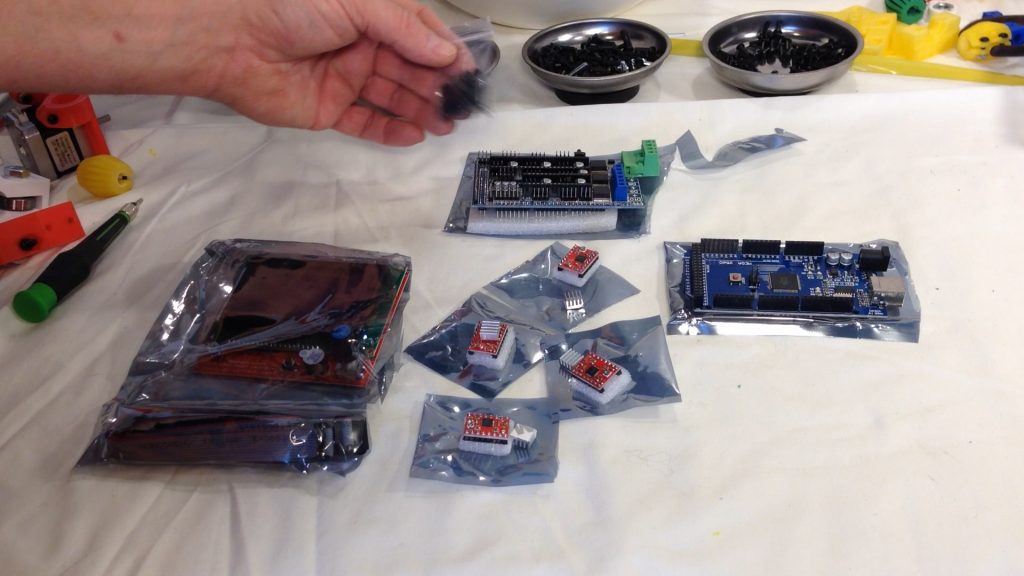
Required parts for Ramps 1.6 electronics Build
1 – Ramps 1.6 board
15 – jumpers for Ramps 1.6 board
1 – Mega2560
5 – A4988 Green Stepper Controllers
5 – heat sinks for A4988 Green Stepper Controllers
1 – 20x4 Smart Graphics Controller
All the Required Parts
Before starting this assembly, I programmed the Mega2560 with Marlin 1.1.19
All header pins should be inspected to ensure they were not bent in shipping – very common issue!
If any pins are bent GENTLY straighten the pins
It is very common for headers to be misaligned so the pins on the Ramps 1.6 shield do not line up

If any pins are bent GENTLY straighten the headers
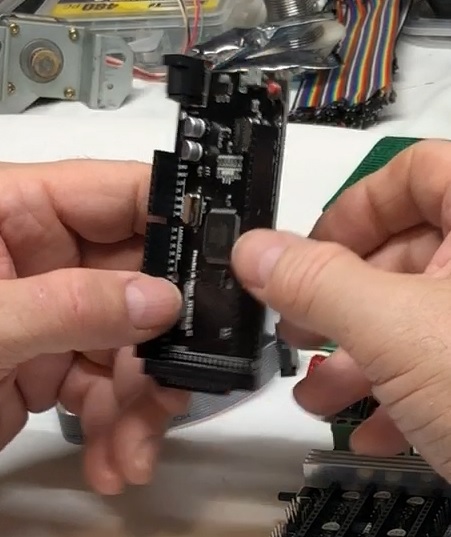
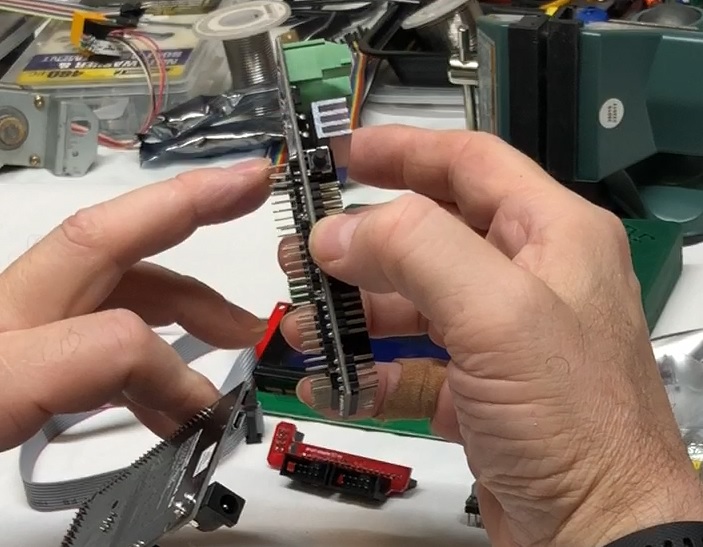
Line up the Header Pins on the Ramps 1.6 shield with the headers on the Mega2560
Gently insert the Ramps 1.6 shield into the Mega 2560 Headers
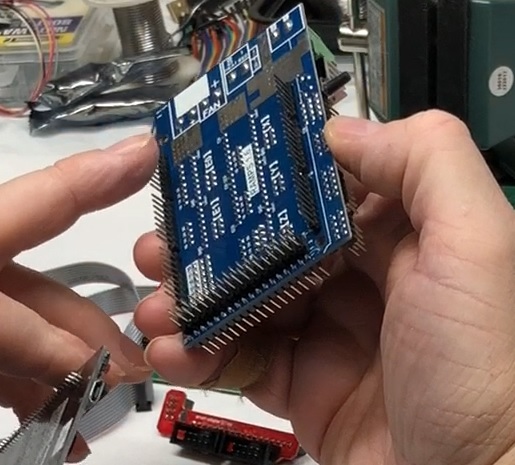
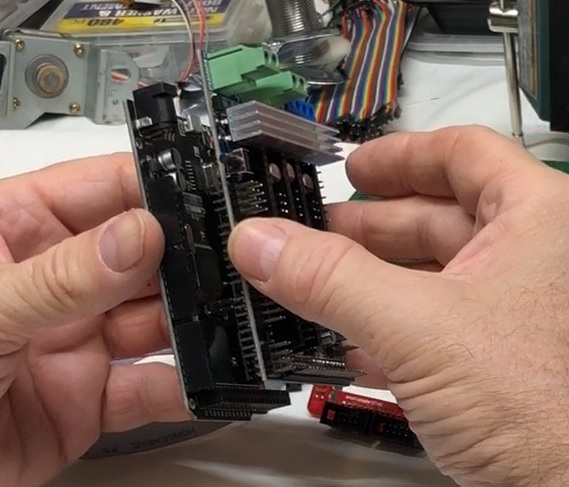
I am using DRV8825(Purple) Stepper Drivers for the Ramps 1.6 Shield, also available are A4988 (red) and A4988 (green) Stepper Drivers

The stepper drivers need installed on the Ramps 1.6 Shield, verify the pins are all straight, and headers are all straight
Determine the orientation of the stepper drivers by verify the location of the ENABLE (EN) pin on the stepper driver and the Ramps 1.6 header
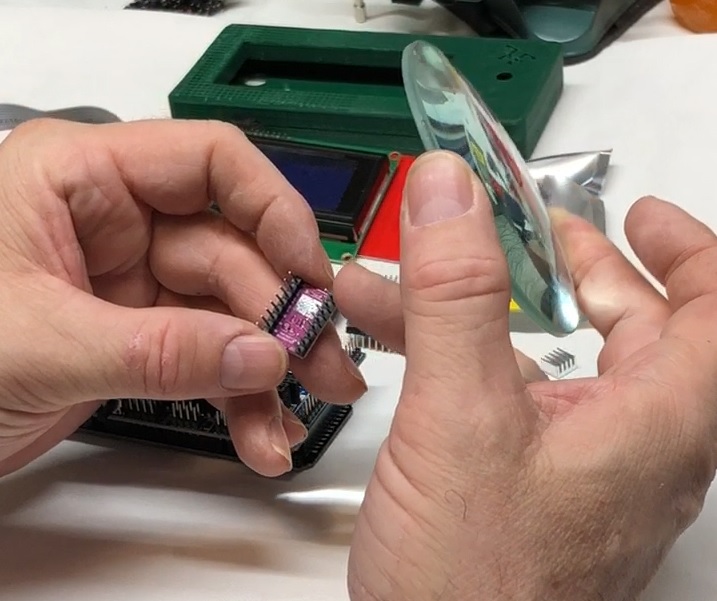
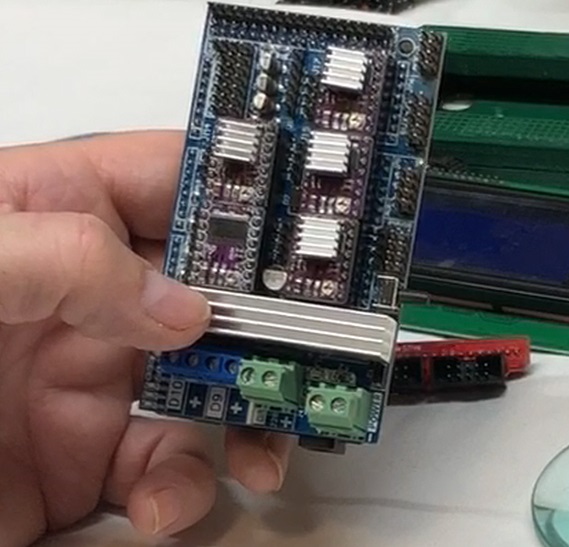
If the Stepper Driver is not installed correctly, the Stepper Driver will be ruined when power is applied, so lining up the EN Header/Pin is extremely Important – Install all 5 Stepper Drivers, they should all be installed in the same orientation

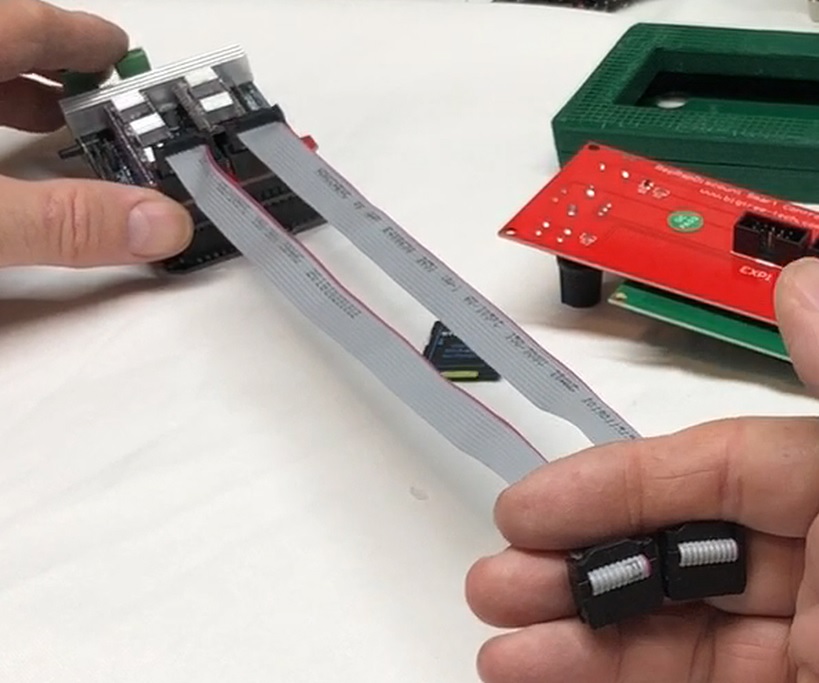
The Stepper Controllers get hot when in use, so they normally come with a heatsink, Peel the paper off the bottom to expose the adhesive
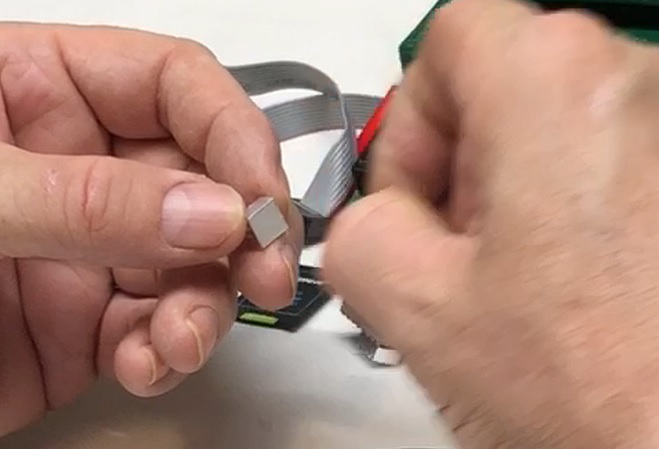
And install on the largest chip on the Stepper Driver
If you are using the 20×4 Graphics Controller
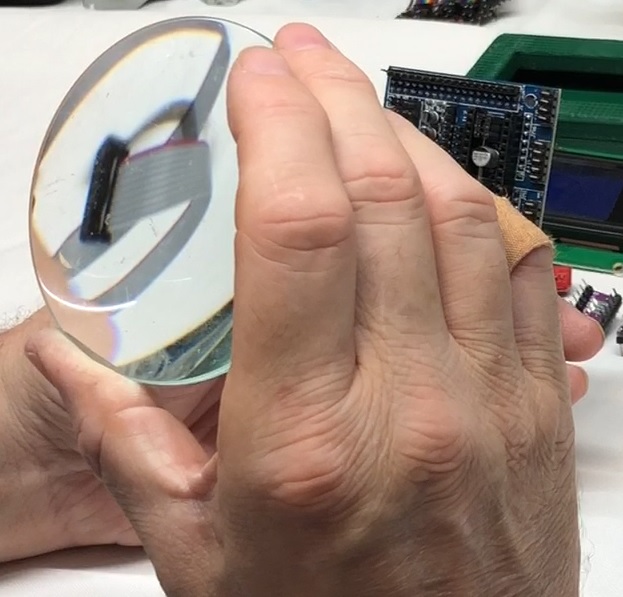
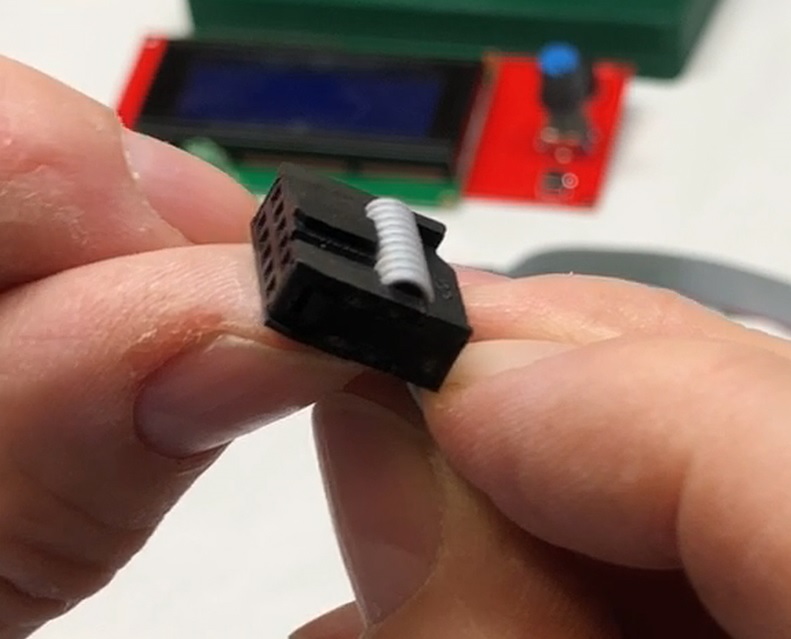
The Smart Graphics Controller comes with 2 ribbon cables and a Ramps Adapter
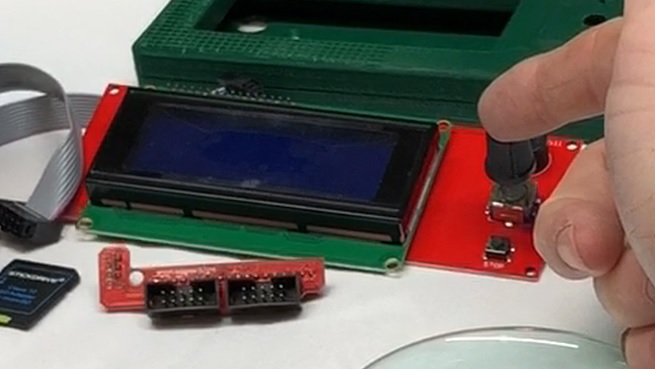
The ribbon cables are keyed, as are the headers, so the ribbon cables can only be inserted one way
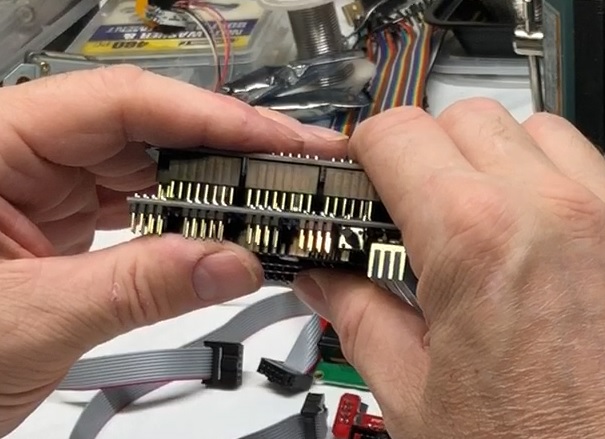
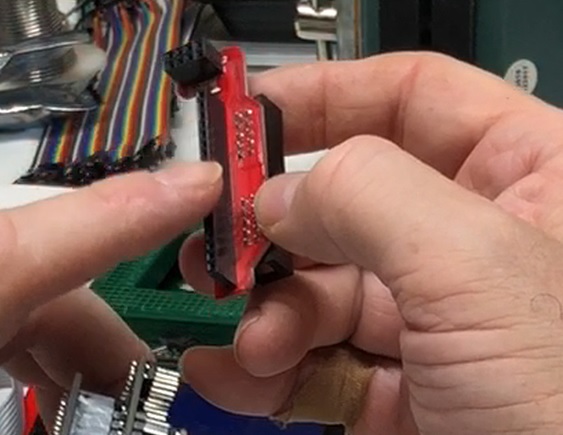
Insert the Ramps/Graphics Adapter on the Ramps 1.6 Shield, the Adapter is L shaped, and has a single row of headers on the long side of the L, and a double row of headers on the short side of the L
Gently insert the Graphics Adapter on the Ramps 1.6 Shield, being careful line up the pins
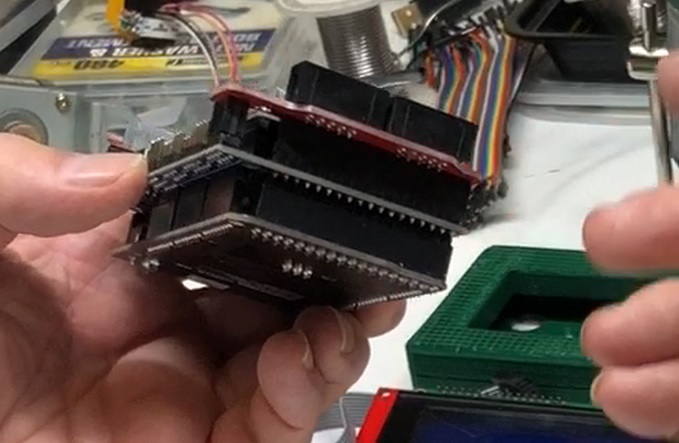
Install the ribbon cables on the Graphics Adapter, using the keys to get the right orientation of the cables
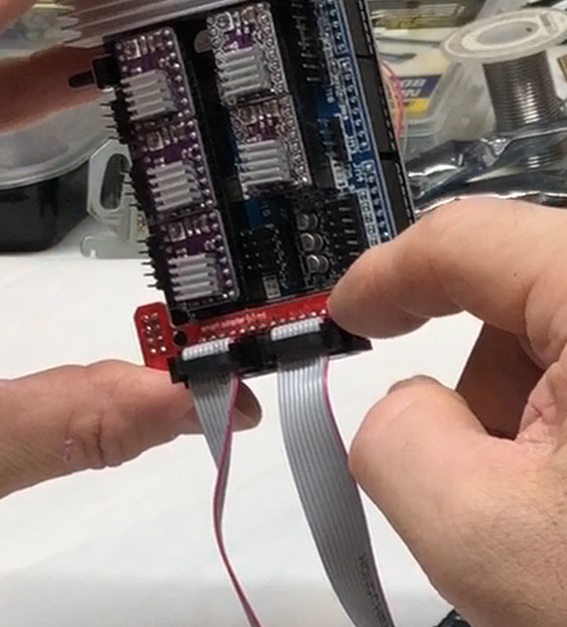
Its best the lay out the cables in parallel to the Smart Graphics Controller, keeping them side by side (not crossed) and connect them to the Smart Graphics Controller
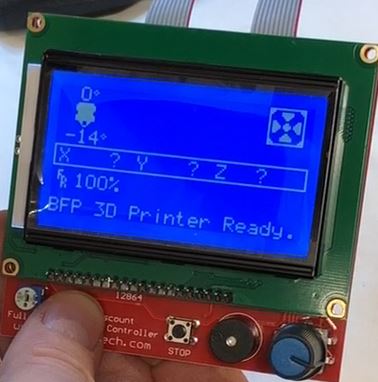
At this stage, you can test the setup by connecting the USB cable to the Mega2560, if have already installed Marlin, you will see a live screen
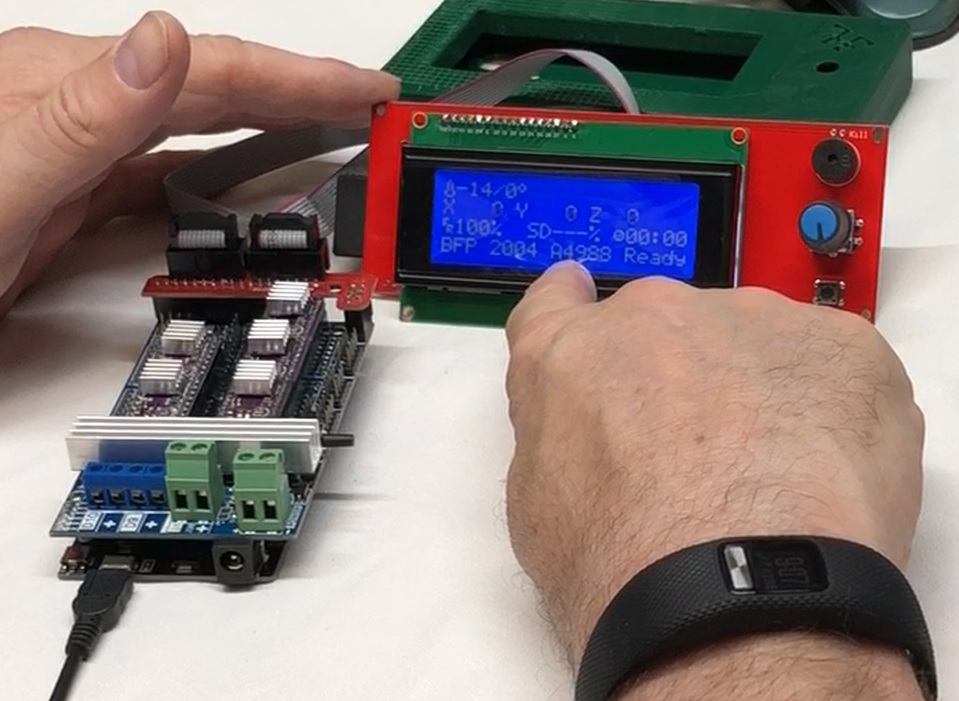
If you get a Marlin display on the Smart Graphics Controller, you have validated the Mega2560, Ramps 1.6 and 20×4 mart Graphics Controller
This does NOT validate the Stepper Drivers
Video of the Piper Ramps 1.6 assembly process
Piper 1v2 3D Printer Ramps 1.6 Mega 2560 20×4 Display Setup
![]()