Piper 1v2 3D Printer Build Log – Cutting Conduit
Piper 1v2 Cutting Conduit
Cutting Conduit
5 Possible way to cut conduit
1. Hacksaw by hand
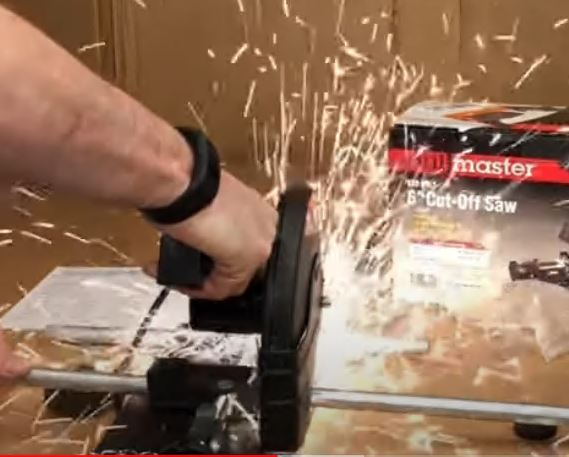
2. Metal Chop Saw
3. Metal Bandsaw (handheld)
4. Metal Bandsaw (stationary)
5. Angle Grinder with Cut off Wheel
For accuracy, Metal Chop Saw and Metal Bandsaw (stationary) will have the best accuracy
Accuracy with the other 3 devices will be dependent on the user’s skill level
The key point of cutting the conduit is to get it cut
I chose the Metal Chop Saw because I could clamp the conduit in the guide and cut accurately
I also cut a few pieces with a Metal Bandsaw (handheld) for comparison
Conduit Cut list for Piper 1v2, 200x300x200 Build Plate
Base front along X axis 385mm
Base back along X axis 367mm
Base along Y axis 400mm
Y rails 477mm
X rails 477mm
Z rails 427mm
Top along X axis 385mm
Z support 446mm
Lead screw length v2 410mm
Video of Cutting the Conduit with Portable Bandsaw and Chop Saw
Cleaning Up the Cut Conduit – Lots of sharp edges left after cutting
Piper 1v2 3D Printer Build Log – Cutting Conduit
![]()