Turning a Railroad Rail into an Anvil
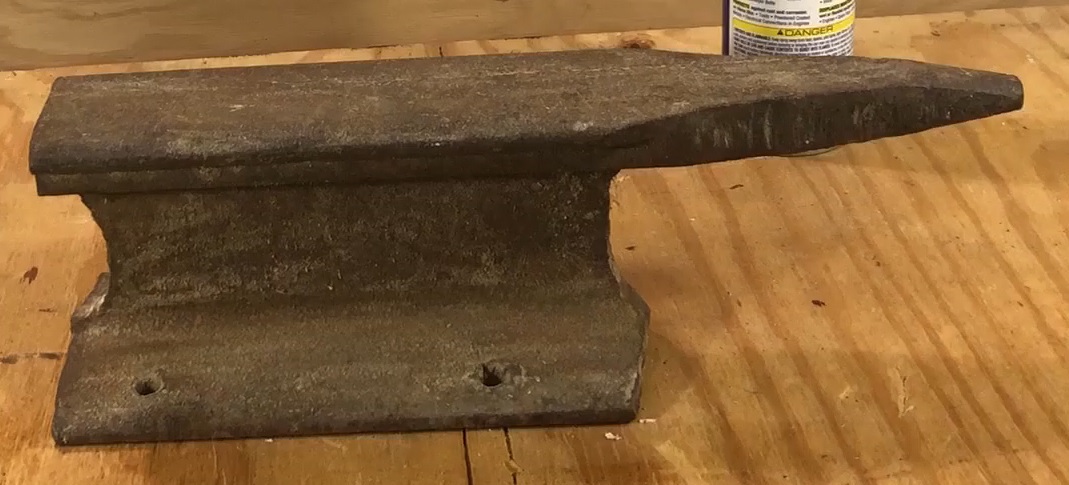
Years ago, my father gave me a piece of rail that had been rough cut into an anvil, I put it in storage until I had time to finish it. Well, that time has arrived!
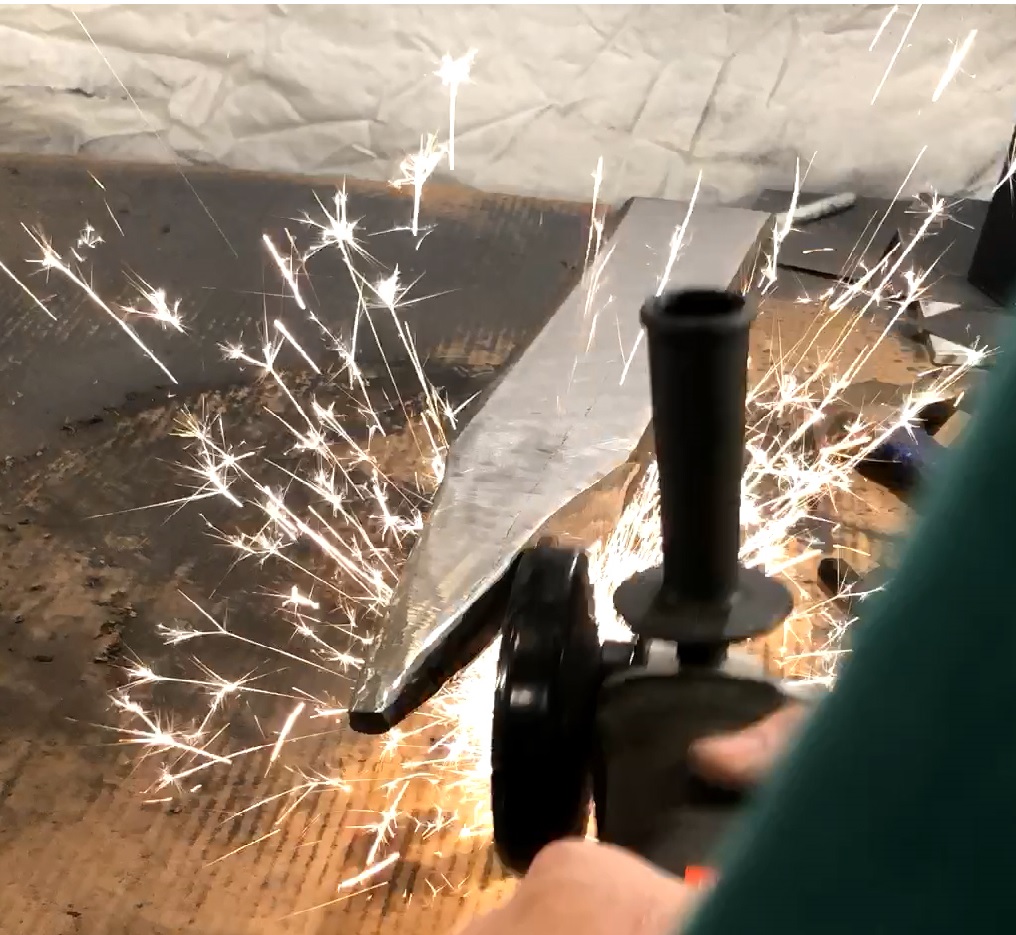
I purchased an Angle Grinder from Harbor Freight for $9 and though this would be a great torture test
I wore a respirator while grinding the Anvil – the process generated a lot of small metal dust, I did not want that in my lungs, I knew from previous grinding, the dust coats the inside of your nose, it has to do the same with your lungs!
I started by rough shaping the horn, it was a square triangle shape that still carried the cut marks
My first goal was to grind the horn into a round cone shape, and that worked out ok, but it took over an hour
The top needs to be flat and smooth, any imperfections would be mirrored onto the steel I would be shaping on the Anvil, Time spent getting an absolutely flat and true surface would pay off later in the surface finish of the steel shaped on the Anvil
The anvil had rounded edges on each side, So I started out rough grinding the top until the bevels were gone – this too quite a lot of time, but worth the effort
Now – How to get a flat surface?
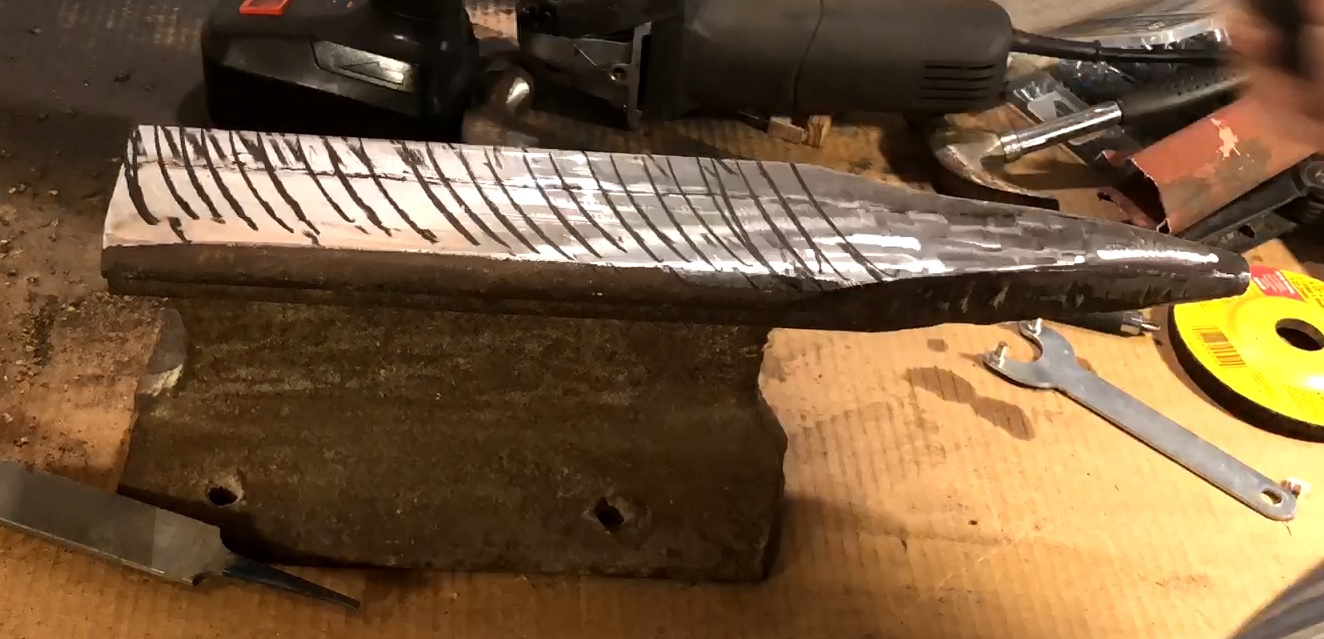
I used the marking crayon to make diagonal lines on the top of the Anvil, and used the grinder to grind these off, this grinded off the high spots and left the anvil roughly flat
Along the way of getting the top flat, the grinding revealed a crack in the top – This created two possible negative outcomes form using the Anvil
1 – the crack could widen under use and make the Anvil unusable
2 – the crack could create marks in the steel work piece – reducing the usable surface of the Anvil
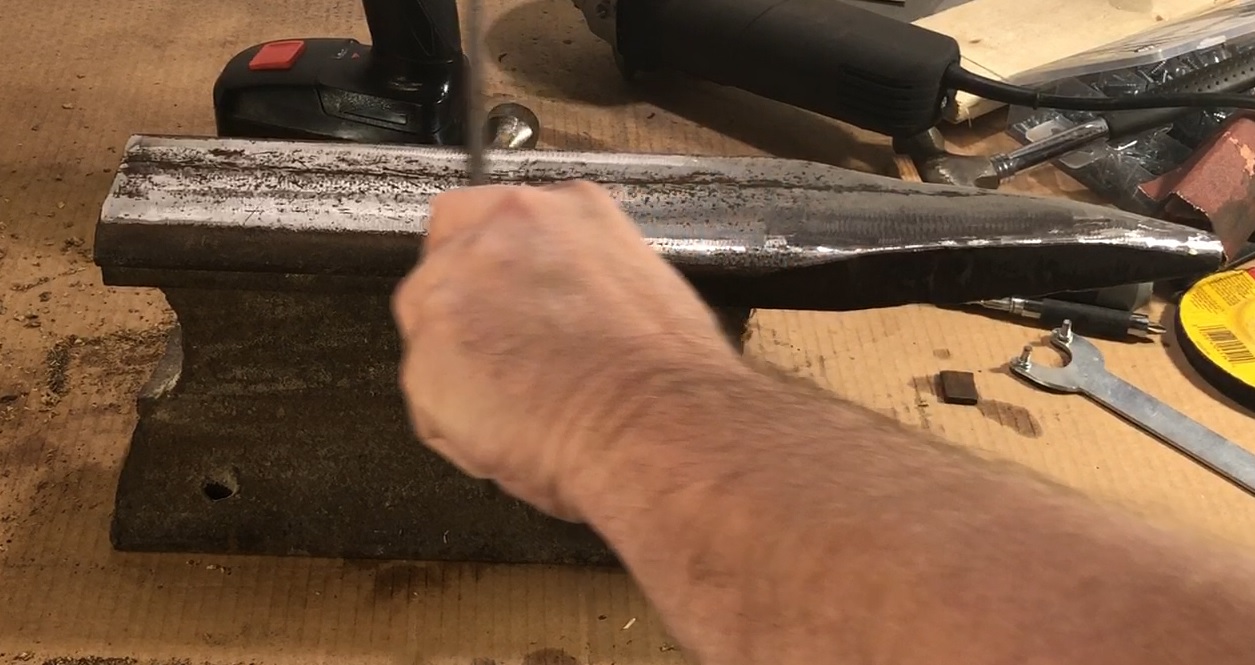
I then used the marking crayon and files to work the top as flat as possible
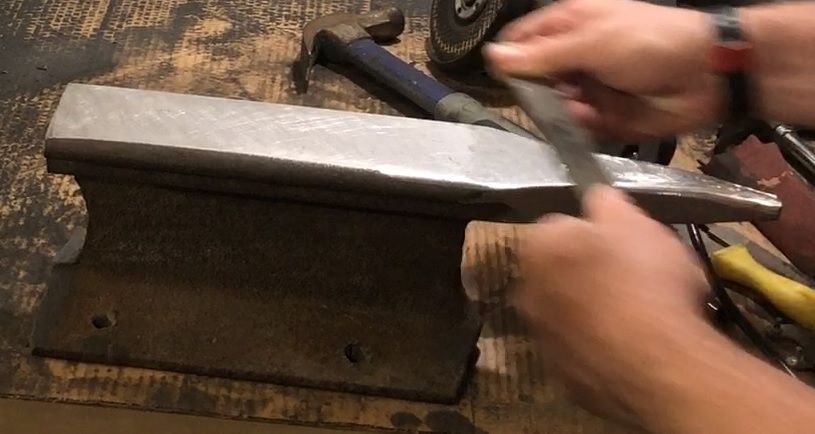
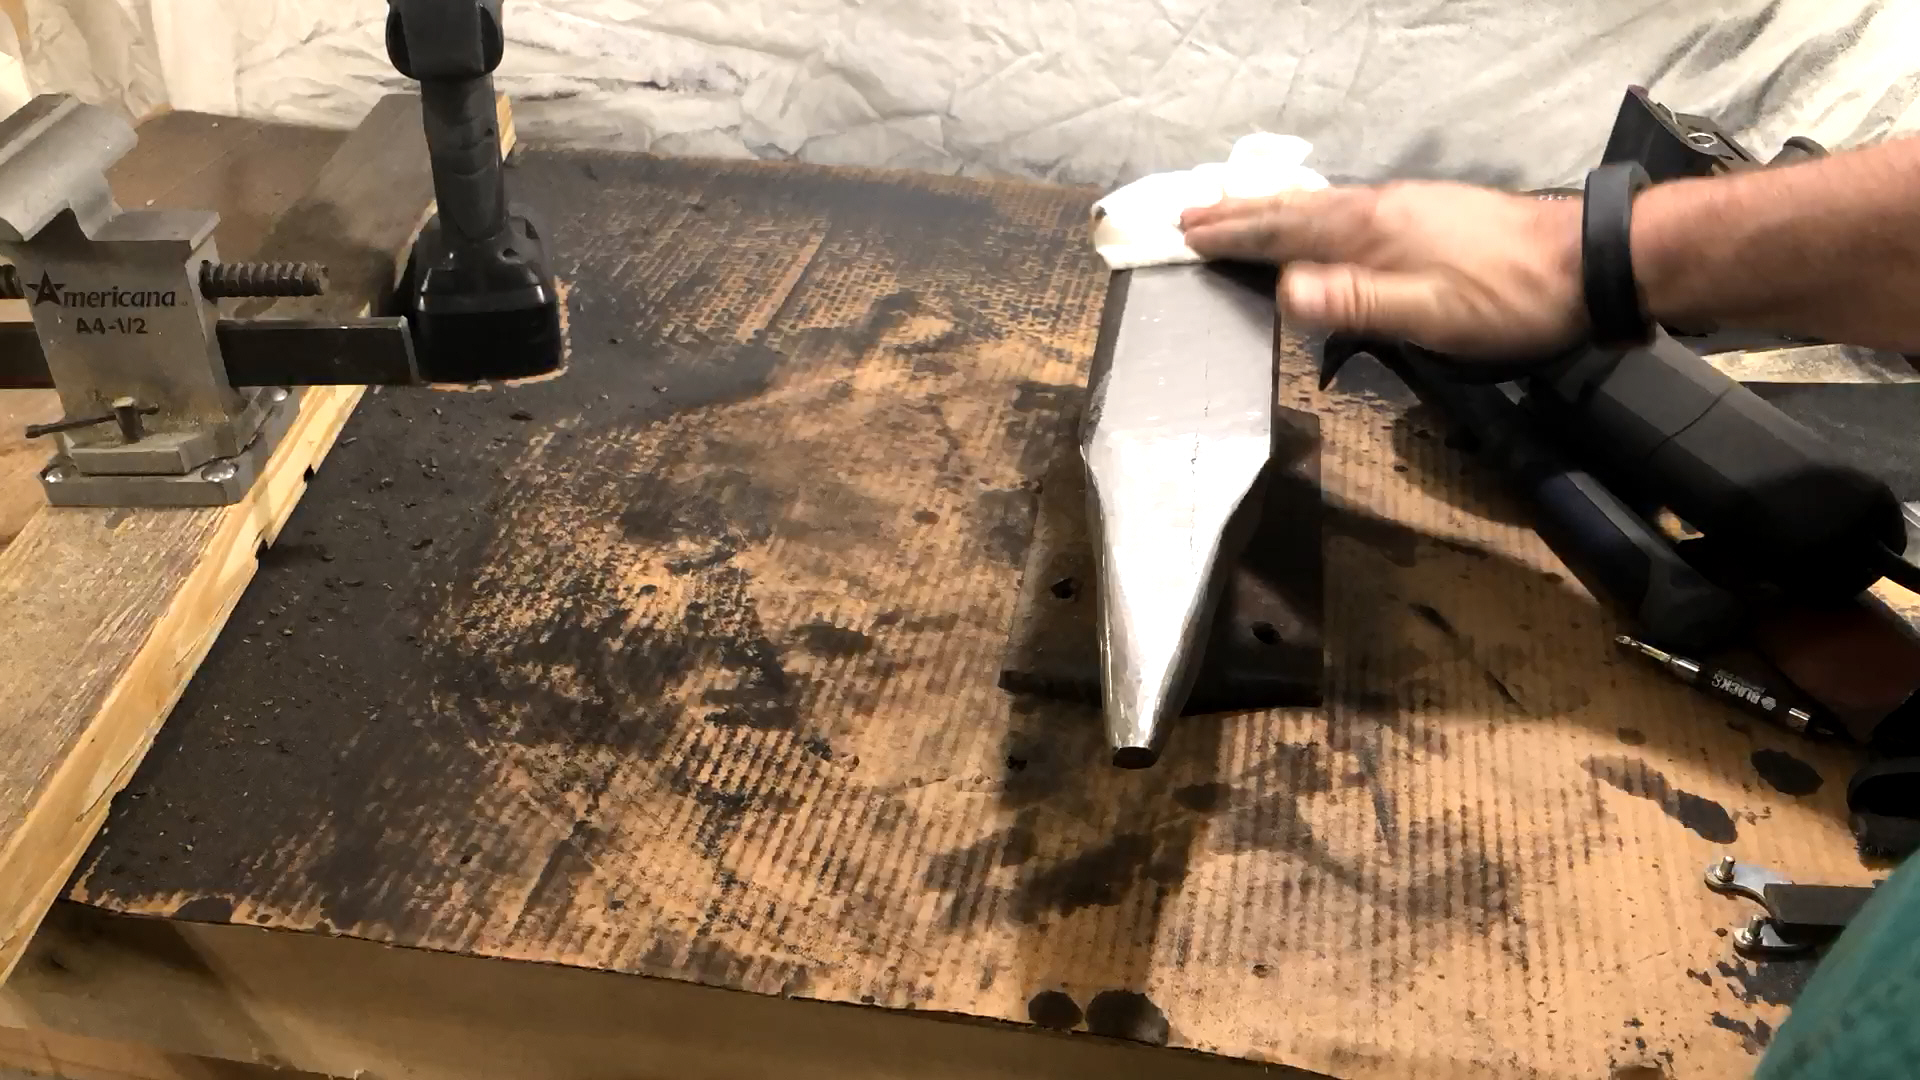
I then cleaned up the sides and back of the Anvil, and reshaped the Horn to a final shape and finish
The Completed Anvil
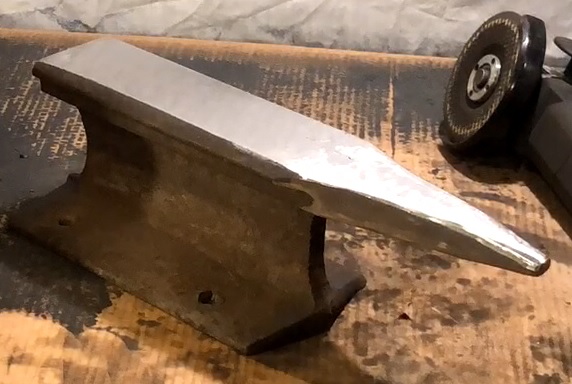
Was it worth it – YES!
I ended up with a small anvil to use for light duty forge work
Grinding for 6 hours created a huge mess, and metal dust was on everything around the workspace and took a while to clean up, I’ll probably do something like this outside next time
Total time spend finishing the Anvil was 6 hours, which I consider time well spent, and also proved the $5 Harbor Freight Grinder was tough and could take 6 hours use with no issues
Quick Video of the entire process
Turning a Railroad Rail into an Anvil
![]()