uBitx v5 Rotary Encoder Wireup and Installation
The kit supplied Volume Control has an integrated On Off Switch
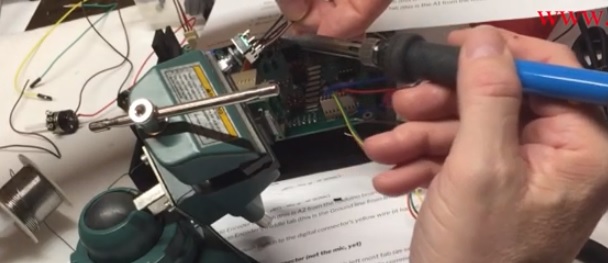
Wiring the On Off switch consists of running a wire from the power connector to the On Off Switch and another wire from the On Off Switch to the brown and red wires on the power interface cable to the board
I cut the red and brown wires about 3 inches from the board, and soldered them to one end of the brown wire, and solder the other end of the brown wire to one connector on the On Off switch
I attached the red wire to the other connector on the On Off switch, and the other end of the red wire to the + terminal on the 2.1mm power jack
The black wire from power interface cable is connected to the ground terminal of the 2.1mm power jack
uBitx v5 Rotary Encoder Wireup and Installation
![]()