uBitx v5 Unboxing and Overview
The uBitx has been out for a while, and I looked at all the versions as they were released, but was not interested
But When I checked out the uBitx v5, I decided I wanted one, it fit into my project stream, both Arduino and QRP Ham Radio, So I finally ordered one
The base price including standard India Post Shipping was $139, India Post takes about 3-4 Weeks and Tracking is limited
For $10 more they will ship via DHL, which should take a week, and there is tracking, so I decided to pay the $10, both to get the uBitx faster and for the tracking
I’m happy to say it arrived in 4 days, Very Nice – The uBitx is shipped in a carboard box, inside a DHL envelope and arrived in great shape
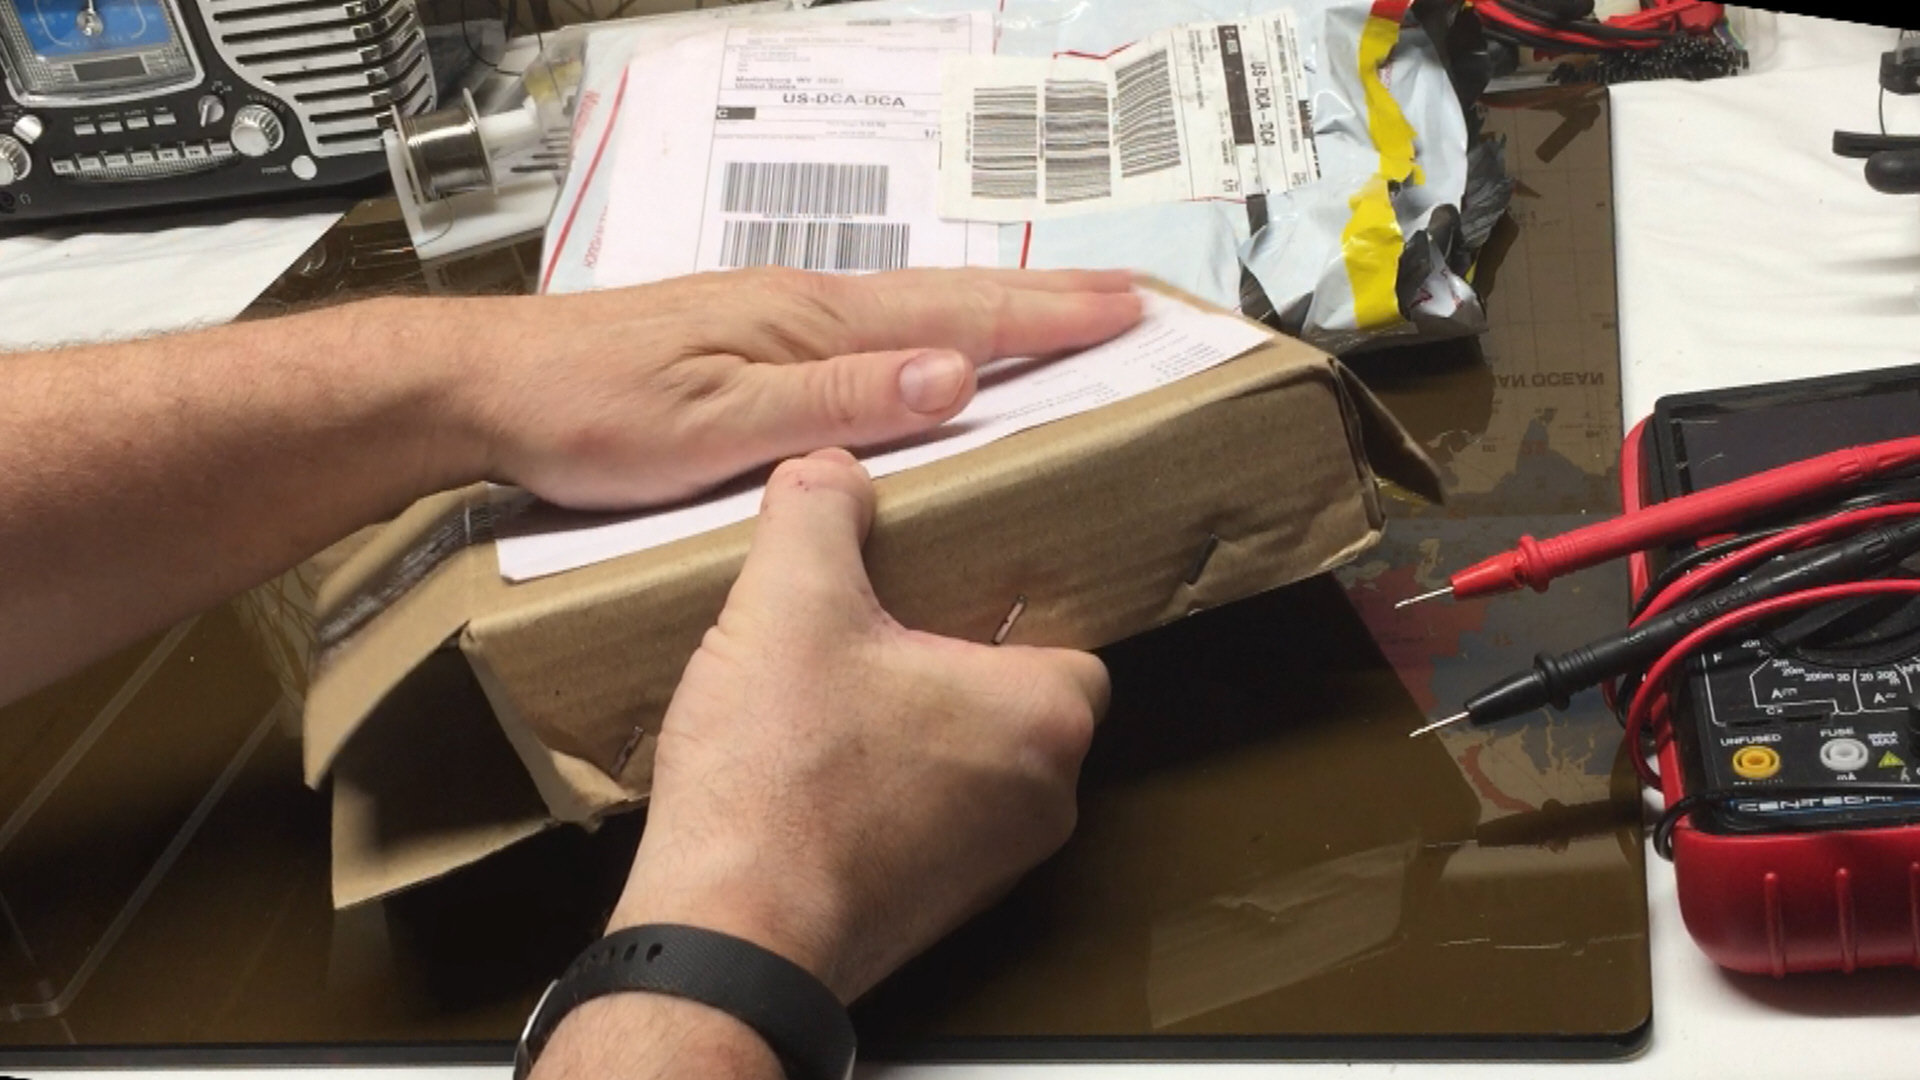
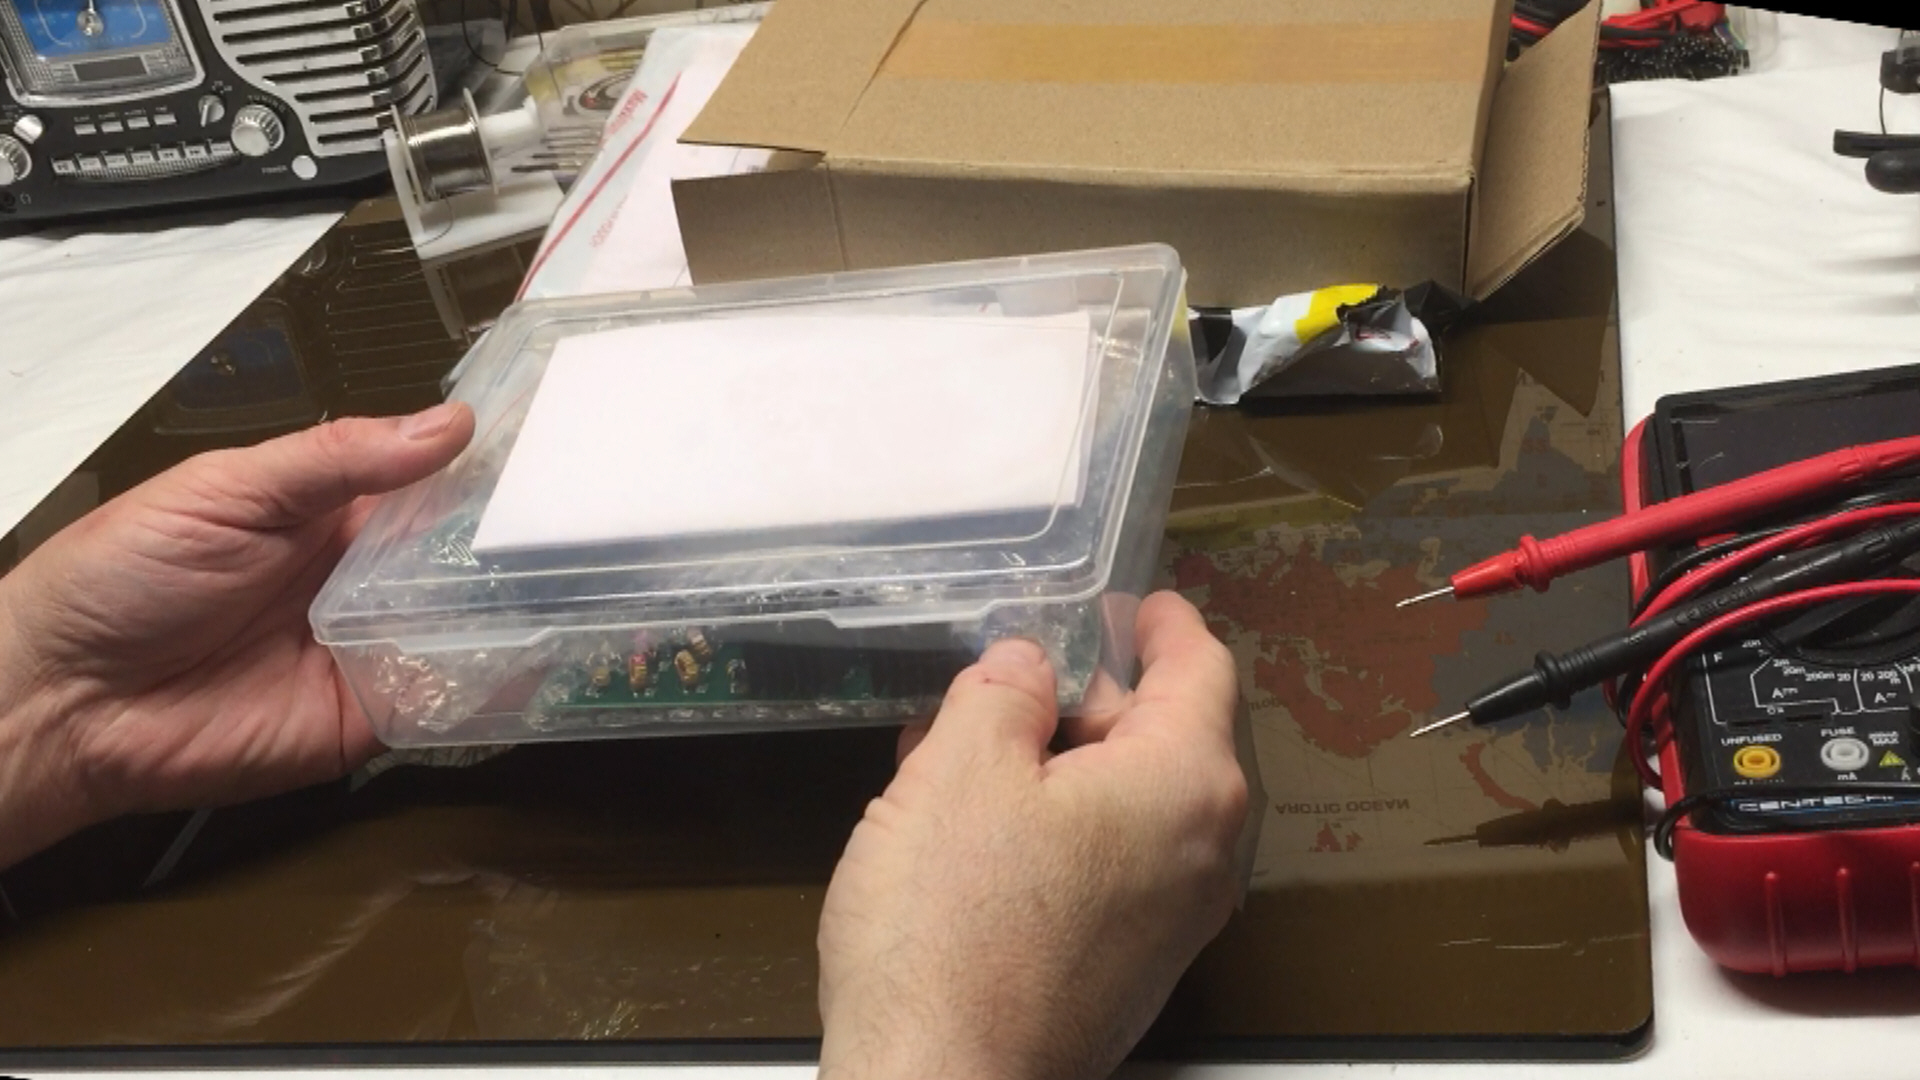
Inside the cardboard box was a surprise – The uBitx came in a plastic container, I was impressed in their packaging – double protection from damages, and a convenient container for storing the kit until I could get an enclosure and complete the kit
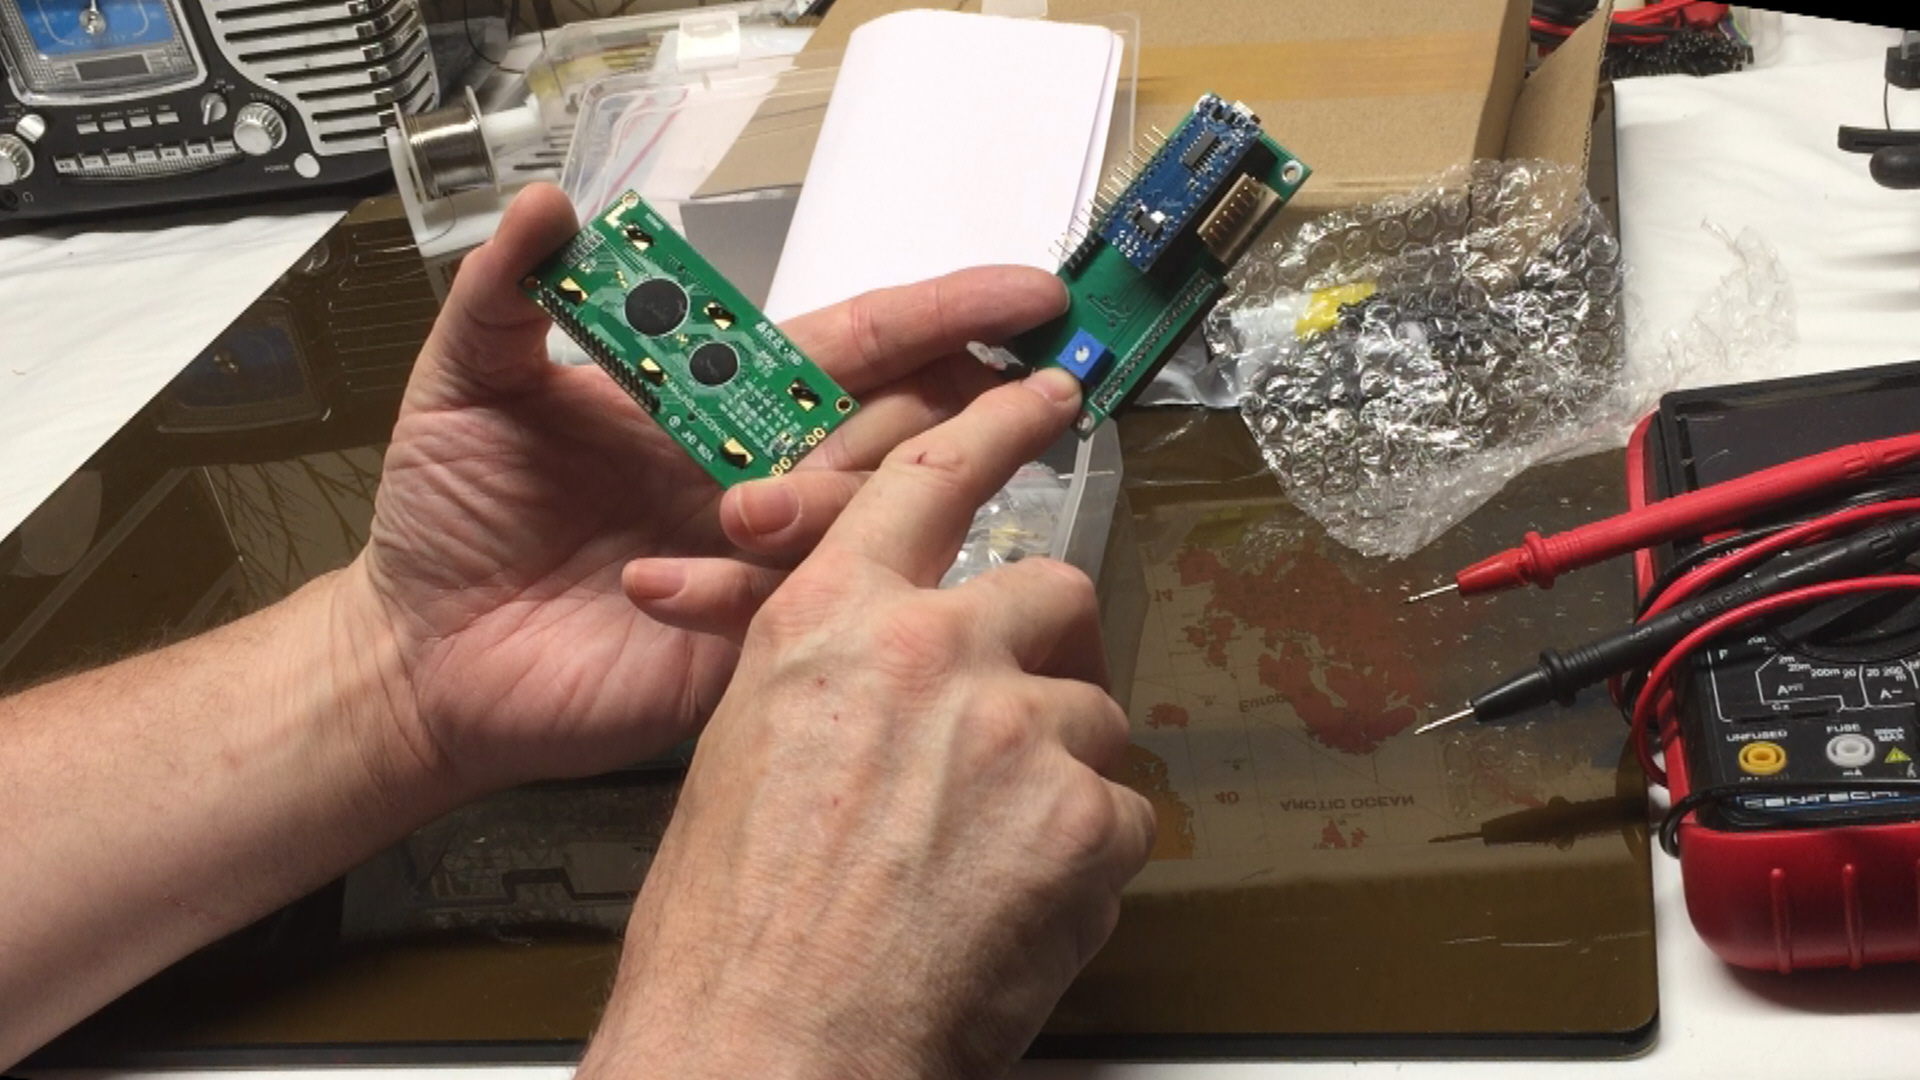
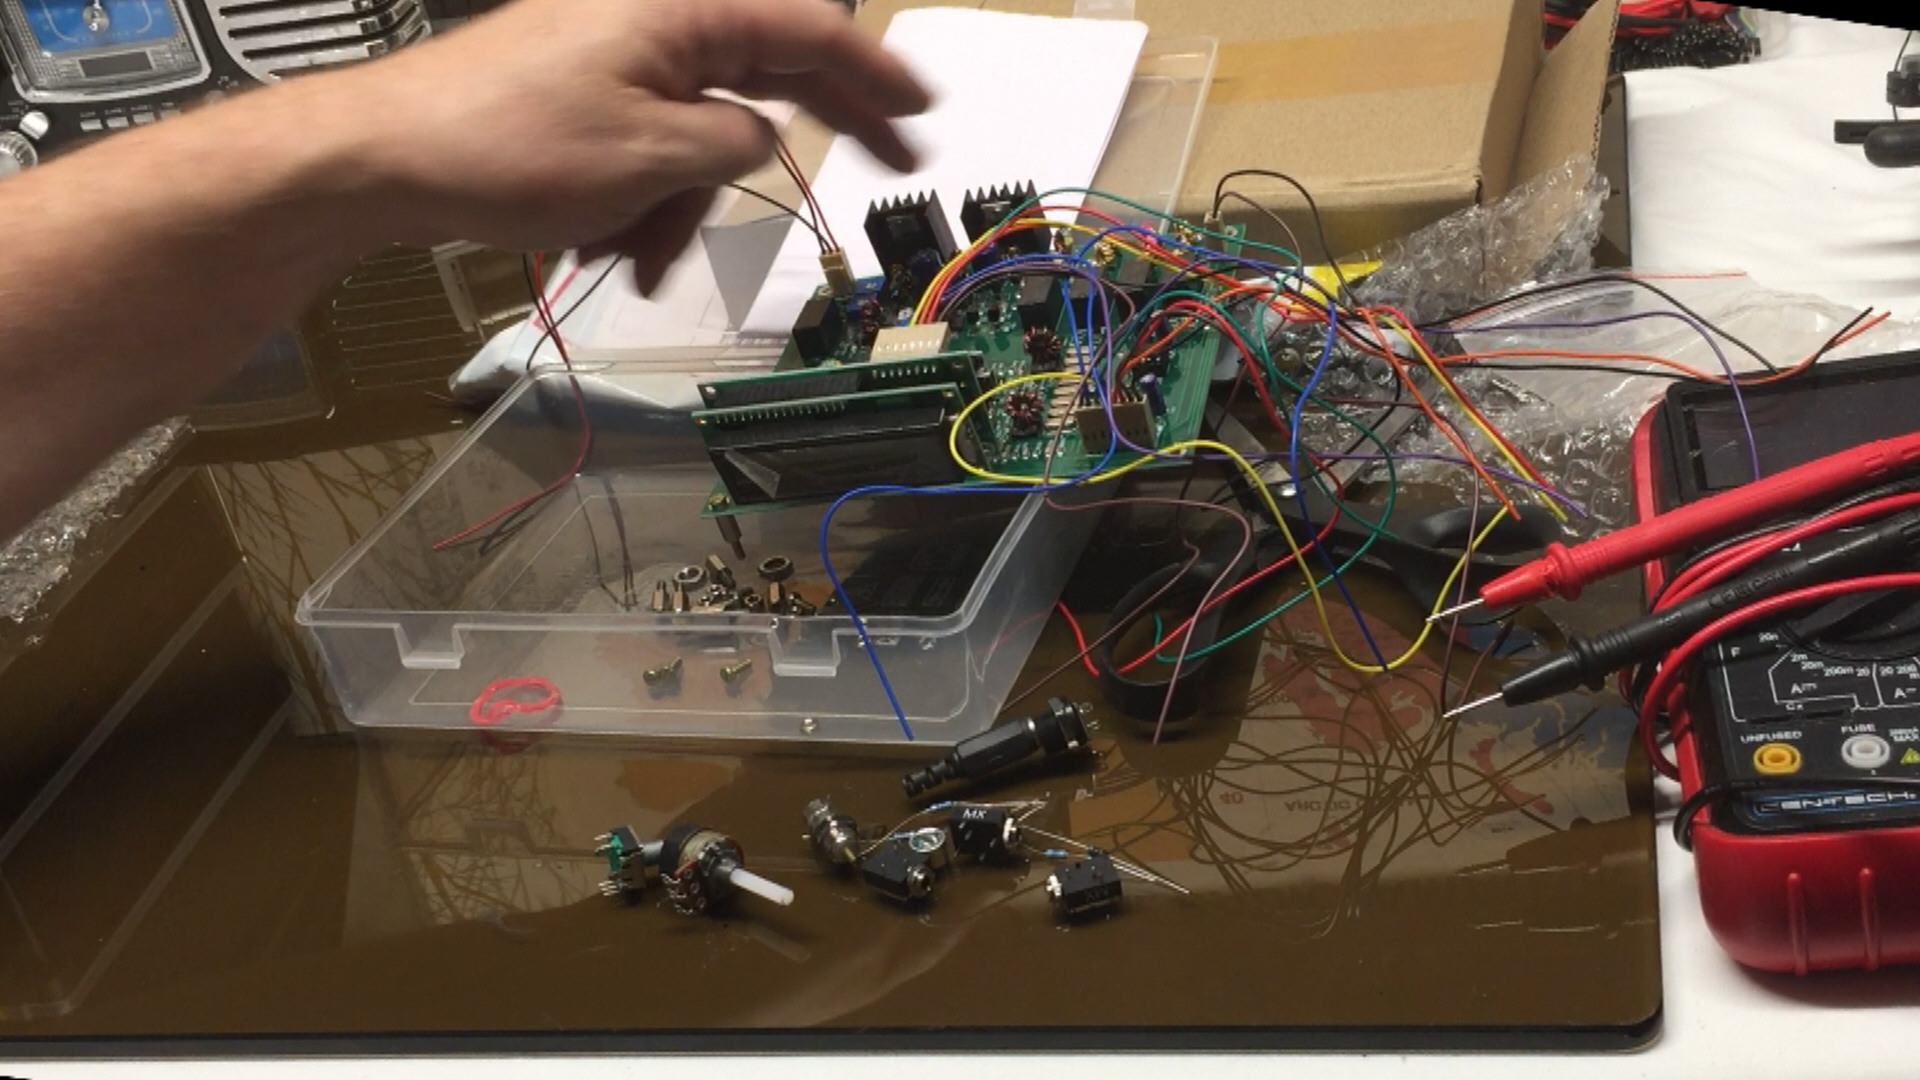
I was very interested in the Raduino – What the designer calls the Arduino Nano Control Board – it has a Nano, 1602 LCD and an Si5351 that is the brains of the radio
The Nano and Si5351 are on one board, with header pins to attach the 1602 LCD, and header pins to mount the Raduino onto the RF Board
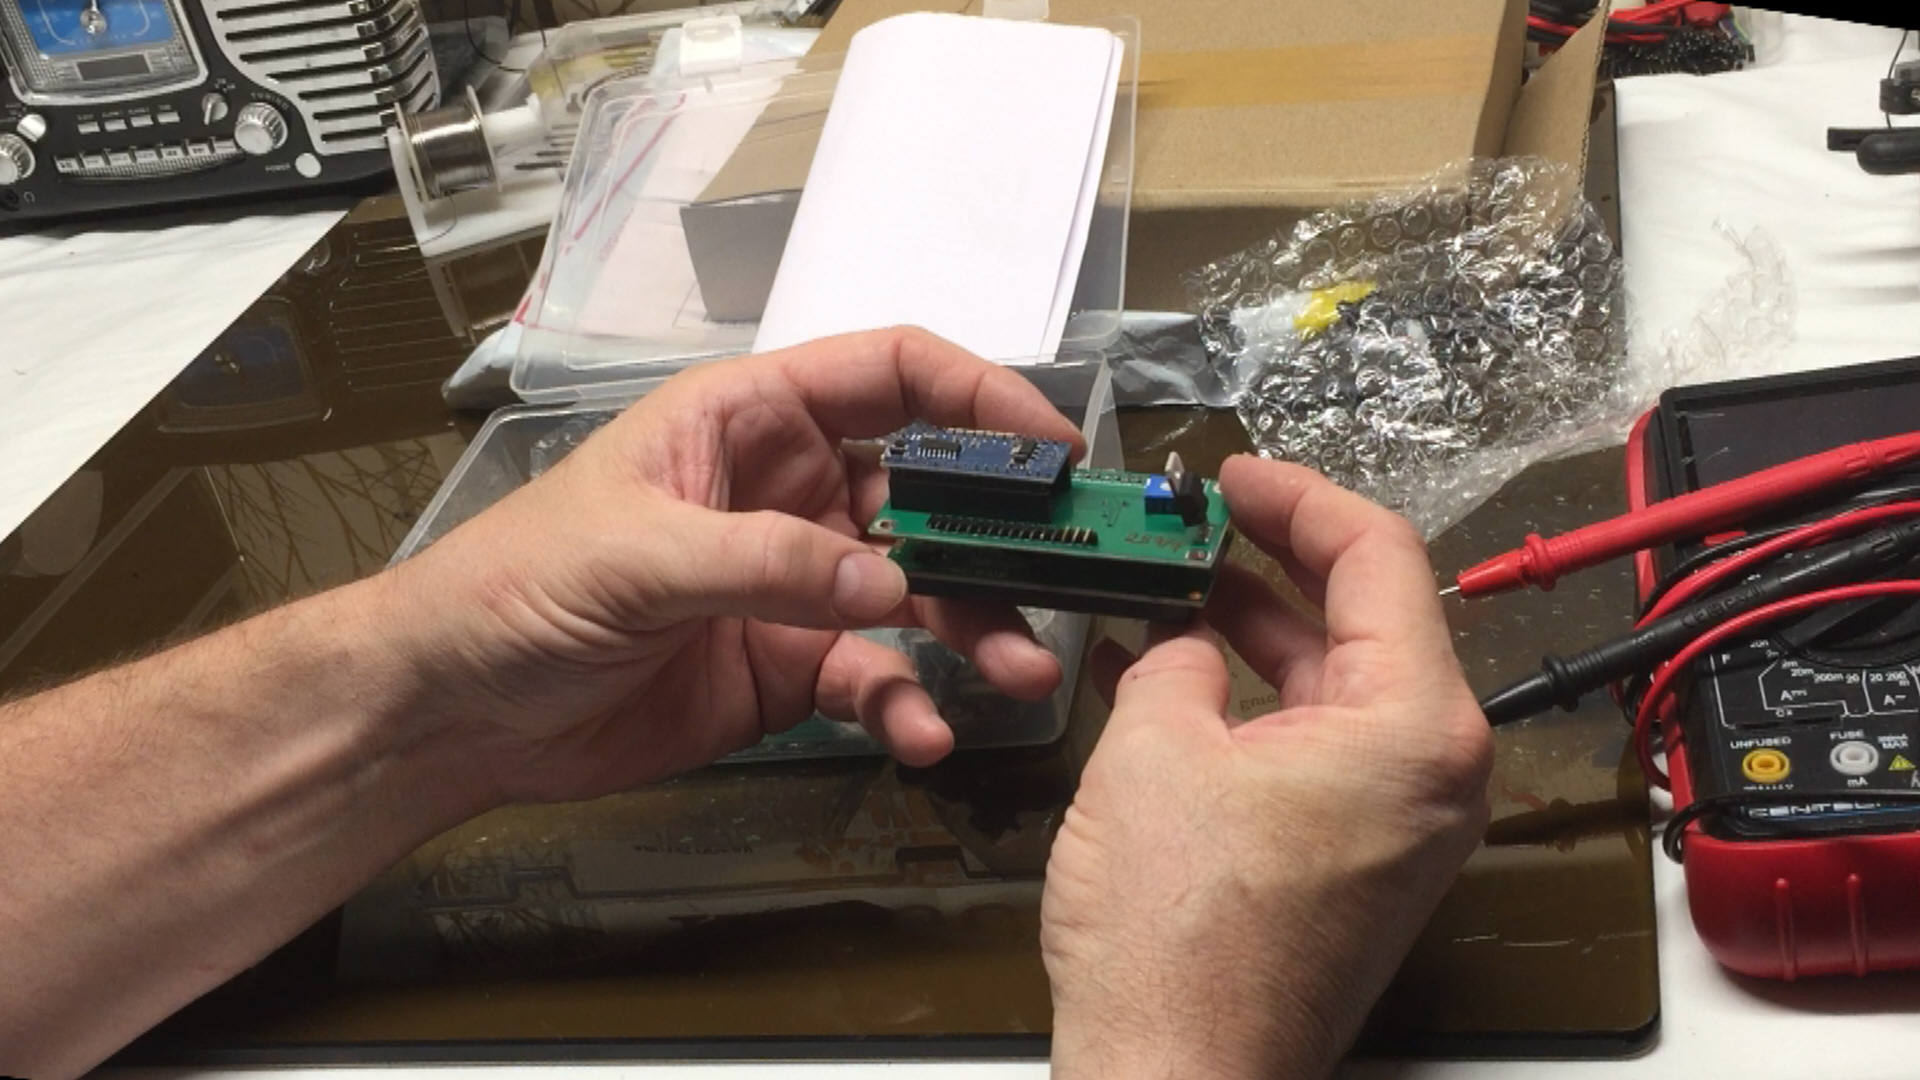
The LCD Contrast Control is on the Nano Raduino Main Board, the 1602 LCD is a standard 1602 LCD and uses the parallel interface method to receive data from the Raduino Control Board, the Two boards make up the Raduino and are only attached via the interface pins, so once the Raduino in inserted in the RF Board, the 1602 LCD is only attached to the Control Board on one side, unless the LCD is mounted to a front panel, it is a little unstable
All the RF Functionality is on the main board, its a very nicely built board, clean and good solder joints, the inductors are uniform and very neat, I am very impressed with the Quality of the Raduino and the RF Board
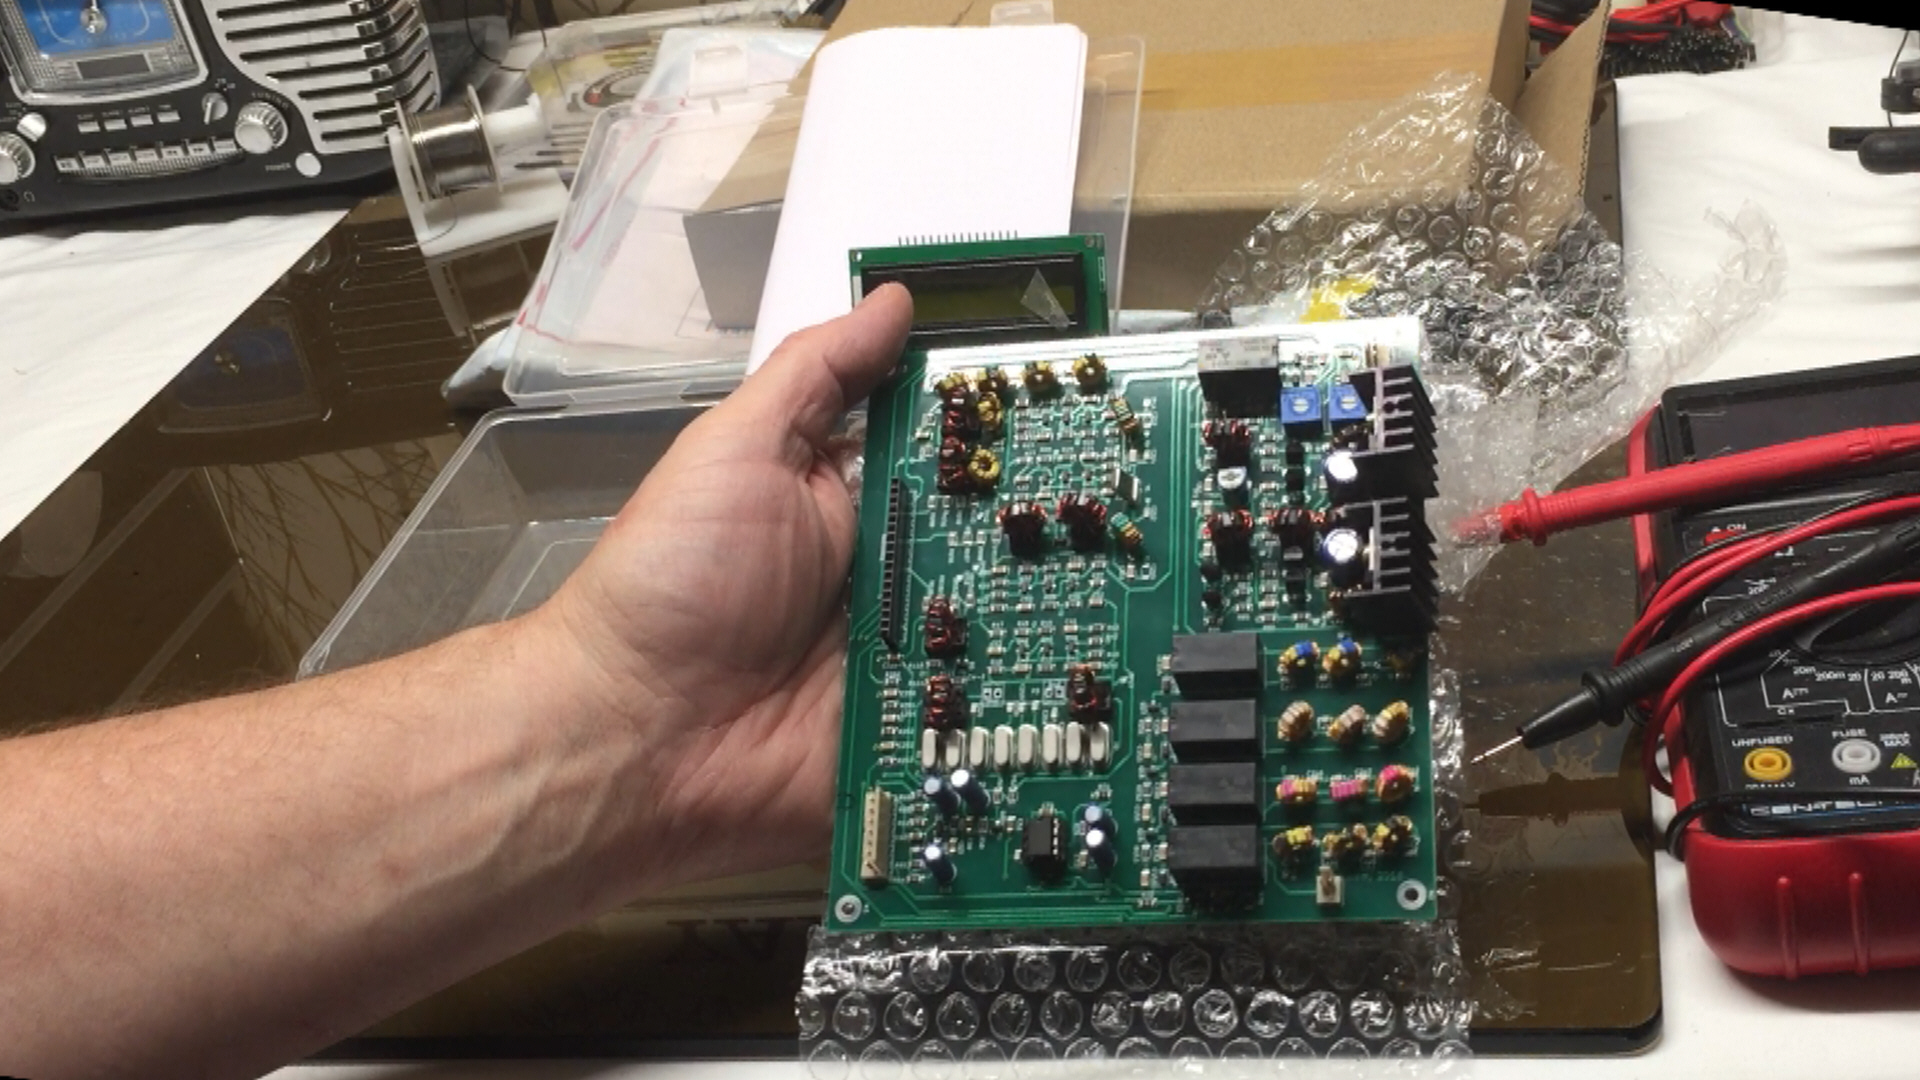
The Raduino Pins install in a Header on the RF Board
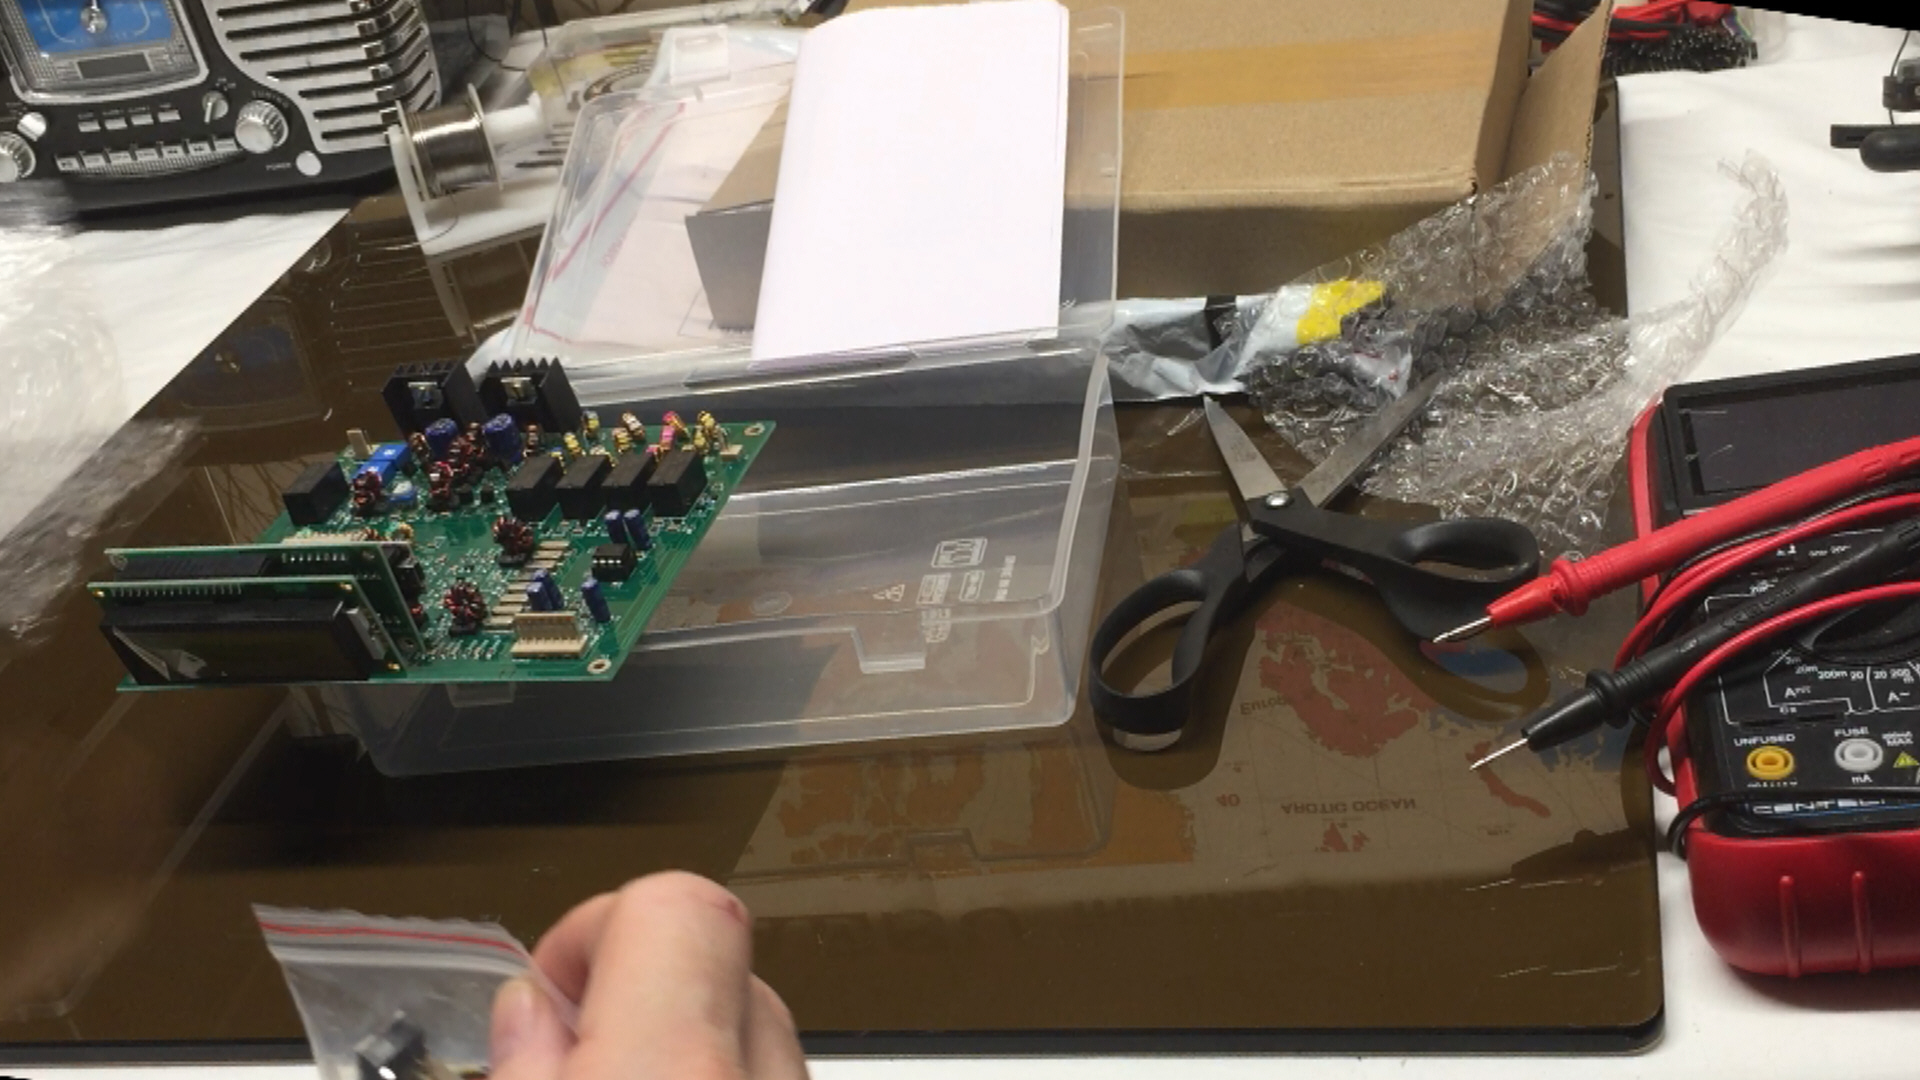
The uBitx uses a somewhat unique method to attach all the controls (knobs, buttons, RF etc) to the RF board, 4 pigtails are supplied with connectors that attach to the RF board and the Raduino and provide attachment wires for all the connections to the manual controls, power and RF, This is a really nice options, because it will allow you to disconnect the pigtail and not have to unsolder/resolder the connections to the boards
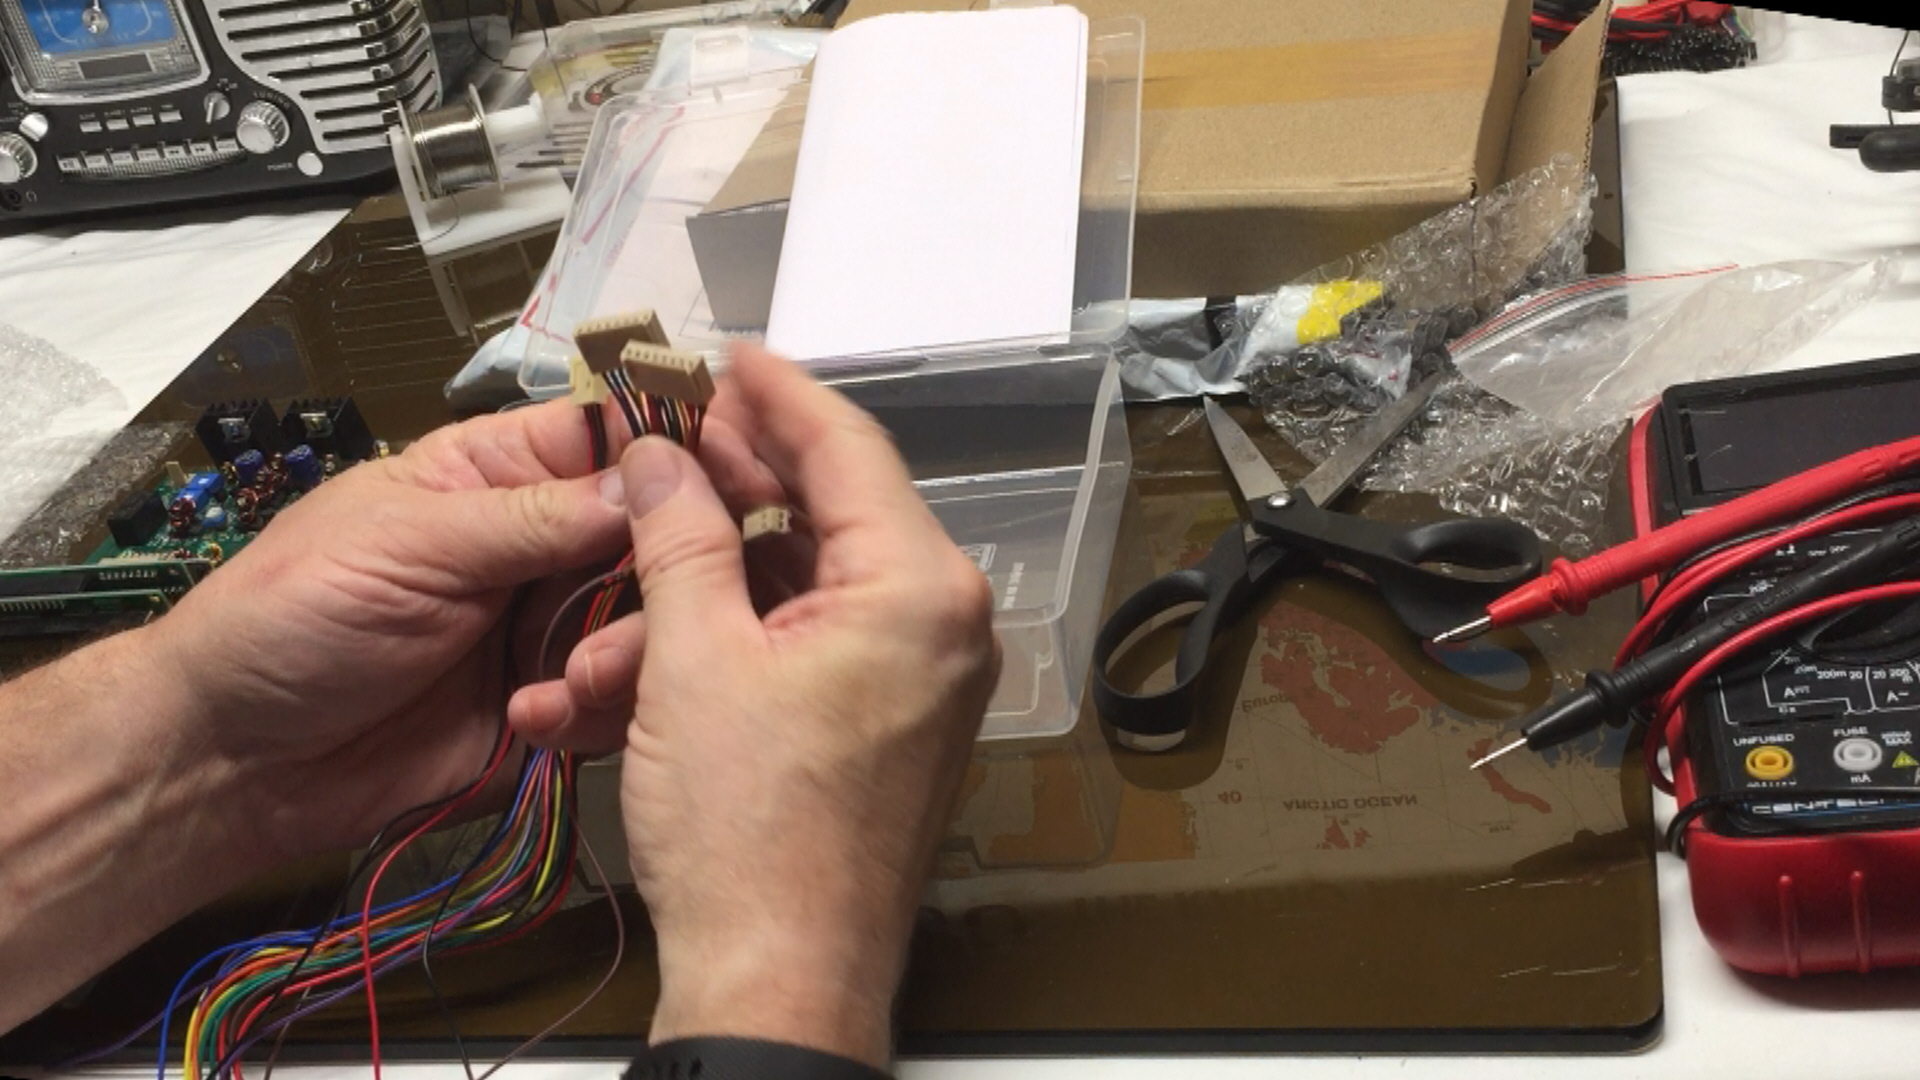
The uBitx comes with a bag of connectors and has all the connectors you need, but you will still need to provide a power suppy and a case
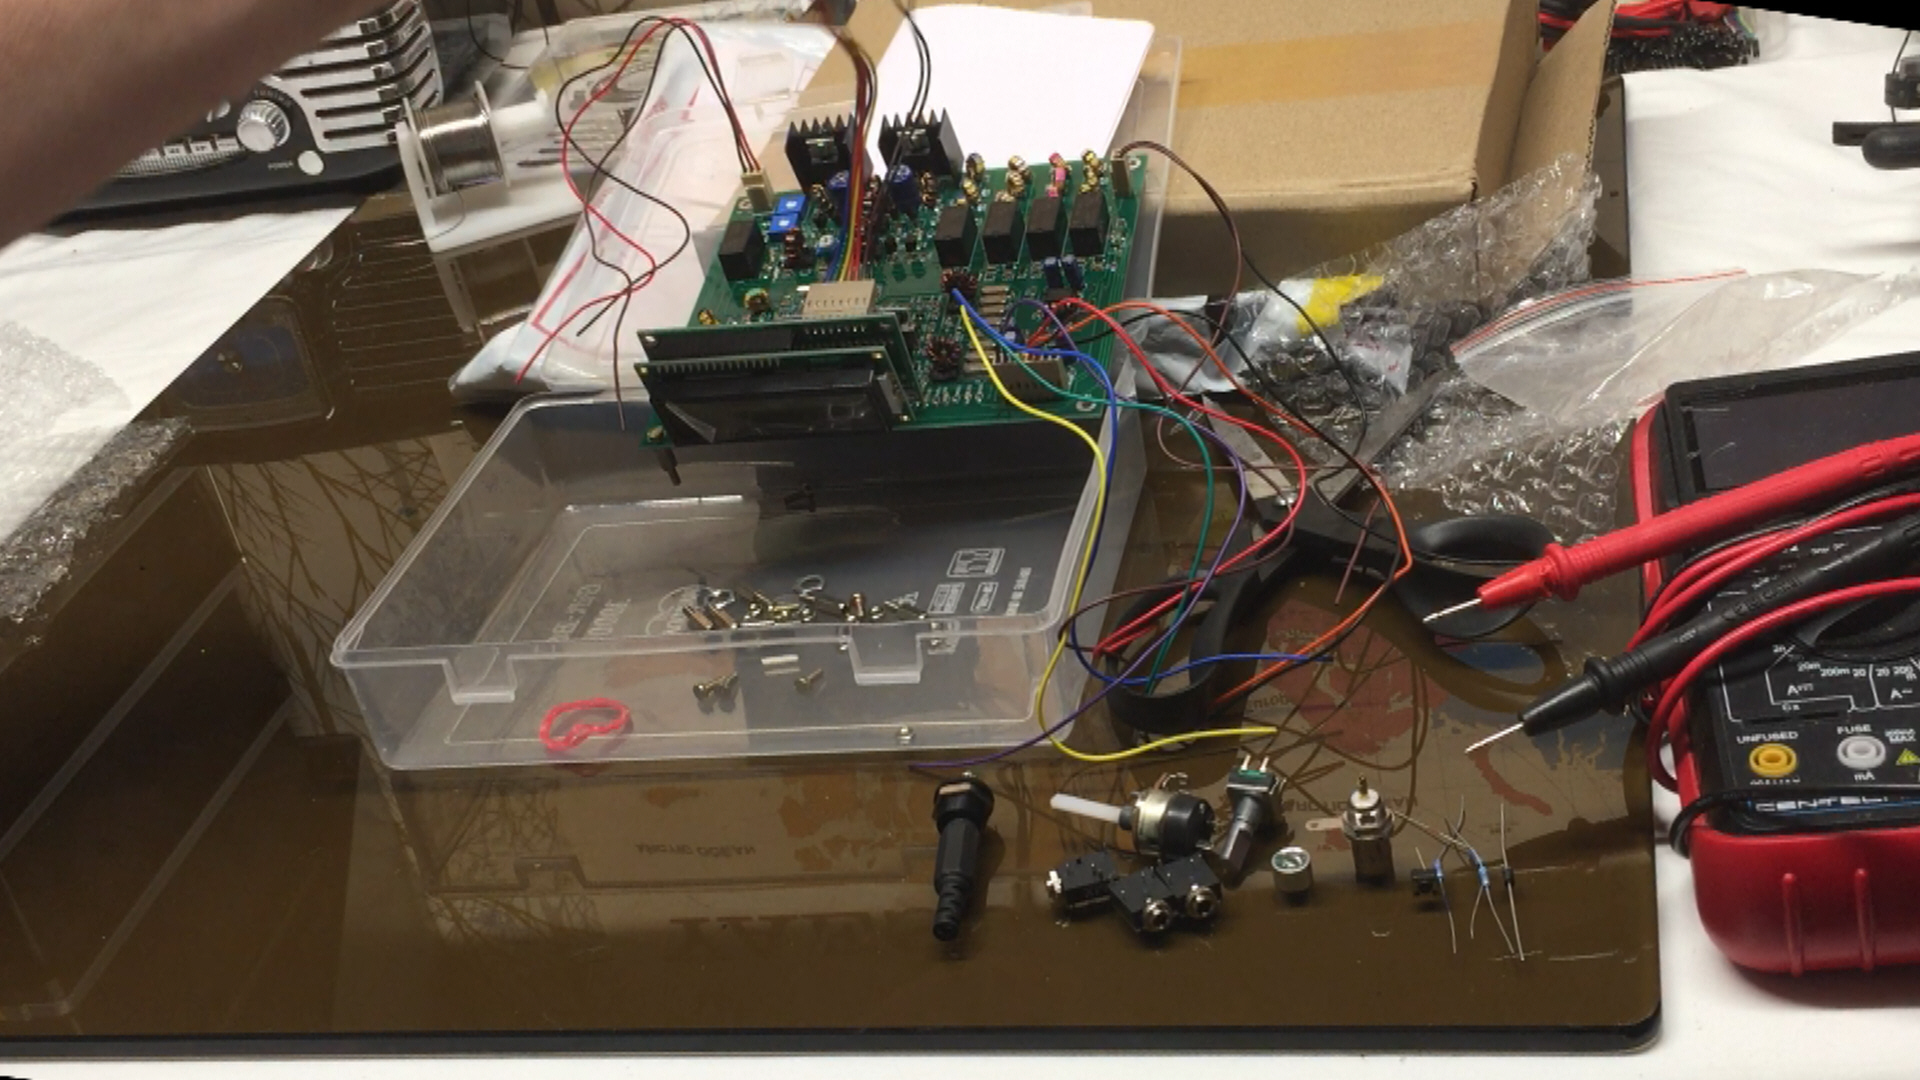
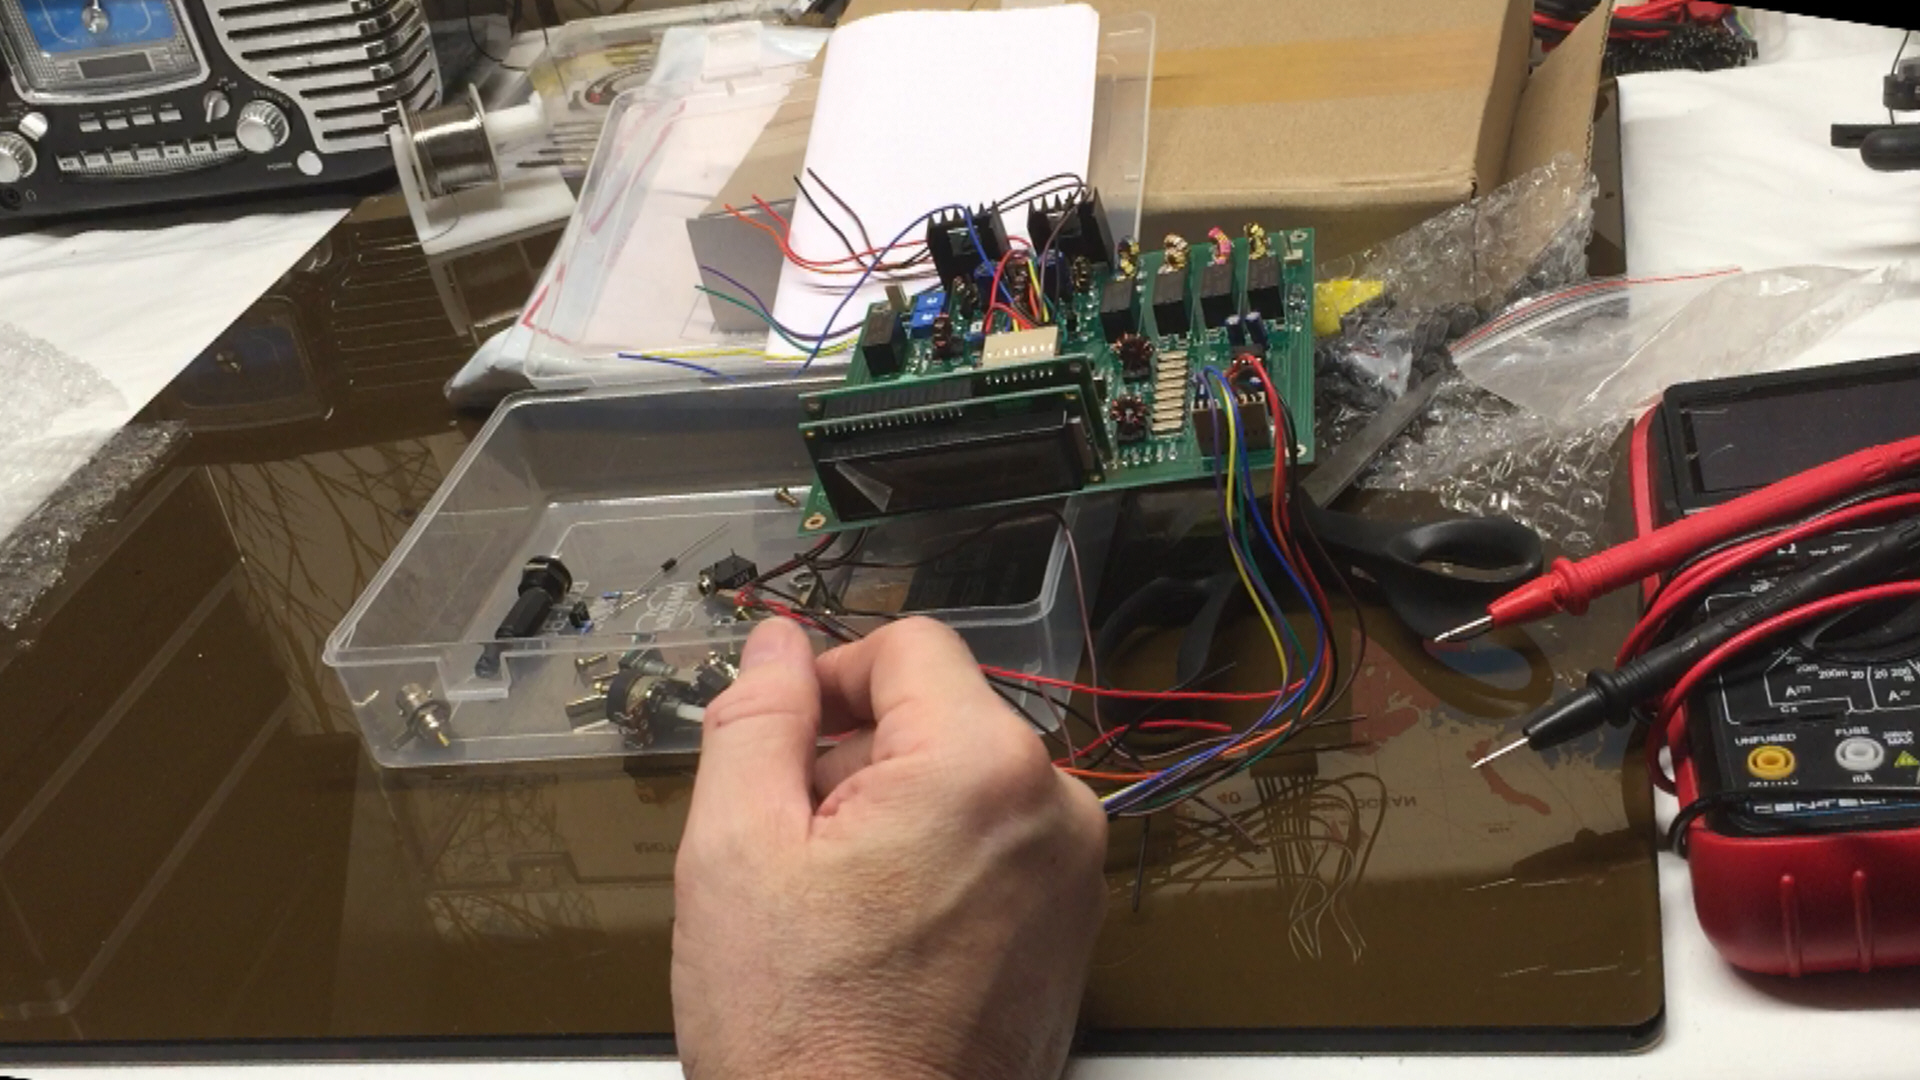
That finishes the upboxing and overview, I got a plastic storage/shipping case, the Raduino, the RF board, 4 pigtails, and all the external connectors, quite a bargain at $149
I will follow up with future project updates for mounting the system in a case and a lot of experimentation, including building my own version of th Raduino, testing on all bands, upgrading the heat sinks, installing a 20×4 LCD using I2C interface, supplying more power to the final amplifier amoung other Ideas I have plans to work on
Final picture of the kit
Video of the uBitx v5 Unboxing – What is in the Kit?
uBitx v5 Unboxing and Overview
![]()